
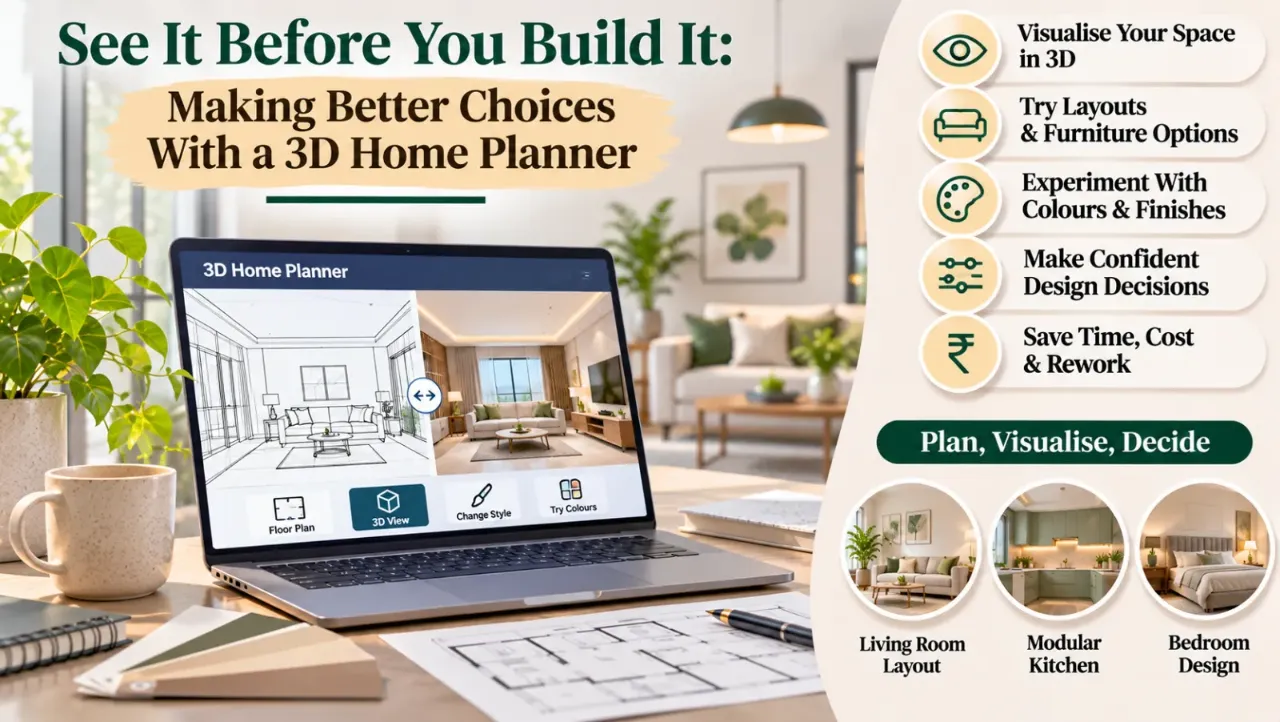
See It Before You Build It: Making Better Choices With a 3D Home Planner
Choosing a home layout, deciding where furniture should go and selecting the right finishes can be difficult when everything exists only on paper. A room may look spacious in a floor plan but feel crowded once a bed, wardrobe and side tables are placed inside it. A tile that looks perfect in a sample may create a very different effect when used across an entire floor.
This is where a 3D home planner free online can be useful. It allows homeowners to turn basic room dimensions and layout ideas into a visual model, helping them explore arrangements before committing to physical changes.
However, a useful 3D plan is not created by simply placing furniture and choosing attractive colours. The quality of the result depends on accurate measurements, sensible material choices and a clear understanding of how the home will be used.
Here is how to make better use of an online 3D home planner, from the first measurements to the final styling decisions.
1. Start With a Clear Plan, Not Just a Visual Idea
Before opening a 3D planning tool, decide what you want to design. Are you planning one room, an entire apartment or a new home's interior layout?
Begin by collecting the basic information:
- A floor plan, if one is available.
- Room dimensions and ceiling height.
- Door and window positions.
- Existing structural elements that cannot be moved.
- Locations of columns, beams and service shafts.
- Furniture and appliances that need to be accommodated.
Also make a list of the activities that will take place in each room. A bedroom may need a study corner, while a living room may need to support both television viewing and guest seating.
A clear brief helps prevent the 3D model from becoming a collection of attractive but impractical ideas.
2. Measure the Space Before Building the 3D Model
Measurements are the foundation of a useful 3D plan. If the dimensions entered into the planner are inaccurate, the visual result can be misleading.
Record the length and width of each room, along with ceiling height. Measure door and window openings, including their position from the nearest wall. Note any recesses, projections, columns and other features that affect the usable floor area.
For better accuracy, prepare a measurement sheet that includes:
- Room length and width.
- Floor-to-ceiling height.
- Door width, height and opening direction.
- Window width, height and sill level.
- Column and beam dimensions, where relevant.
- Fixed plumbing or service locations.
- Existing built-in furniture or cabinetry.
Do not estimate dimensions from photographs. If a building drawing is available, compare it with site measurements before using it as the basis for a final design.
3. Create the Room Structure Before Adding Furniture
Once the measurements are ready, build the basic room structure in the planner.
Add the walls, openings, doors and windows first. Include columns, partitions and other fixed elements wherever the software allows it.
This step matters because furniture placement depends on the actual usable space. A wardrobe may appear to fit against a wall until a window opening or door swing is included.
If you are planning several rooms, create them in relation to the overall floor plan. This helps you understand how rooms connect and whether the proposed arrangements maintain comfortable movement through the home.
Treat this first model as a layout draft. Do not spend too much time on decorative details before the room dimensions and structure are reasonably accurate.
4. Test Furniture Sizes and Movement Space
A 3D home planner becomes more useful when furniture is represented at realistic dimensions.
Start with the largest items in each room:
- Beds and wardrobes in bedrooms.
- Sofas and television units in living rooms.
- Dining tables and chairs in dining areas.
- Counters, appliances and storage units in kitchens.
- Sanitary fixtures and storage in bathrooms.
Use actual product dimensions where possible. Generic furniture models can be helpful for visualising an arrangement, but they may not represent the exact size of the furniture you intend to purchase.
Check whether drawers and cupboard shutters can open, whether dining chairs can be pulled out and whether people can move comfortably around furniture.
A room can look balanced from a 3D camera angle while still being inconvenient to use. Review the layout from several viewpoints and compare it with the dimensions of the real space.
5. Compare Flooring and Wall Materials in Context
Material selection can be difficult when homeowners view each sample separately. A 3D planner can help show how different finishes may work together across a room.
Experiment with a limited set of options for:
- Floor tiles or wooden flooring.
- Wall paint and wallpaper.
- Kitchen cabinet finishes.
- Countertop materials.
- Bathroom wall and floor tiles.
- Decorative wall panels.
- Ceiling finishes.
Think about the relationship between colours, textures and the amount of natural light in the room.
For example, a large floor surface with a strong pattern may compete with heavily detailed furniture. A subtle floor finish may allow cabinetry, artwork or an accent wall to become the main visual feature.
Use the 3D model to compare alternatives, but do not treat its screen colours as an exact representation of the finished material. Display settings, lighting simulations and software textures can differ from real-life appearances.
Whenever possible, review physical samples under the lighting conditions of the actual home.
6. Explore a Colour Palette Before Finalising It
A colour may look appealing on its own but feel different when combined with flooring, furniture and lighting.
Use the planner to test a coordinated palette rather than changing every surface independently.
A practical approach is to begin with:
- One main colour for larger surfaces.
- One or two supporting colours for furniture or cabinetry.
- A contrasting accent for selected details.
- A material or texture that adds visual depth.
For example, an ivory and muted olive palette can create a calm atmosphere when balanced with natural wood and soft grey. A navy and warm neutral combination may give a more defined look when paired with restrained metallic details.
Try the palette in different rooms if you are planning the whole home. The goal is not to make every room identical, but to create a sense of visual connection between spaces.
7. Test Lighting and Its Effect on Materials
Lighting changes how colours, textures and finishes appear. A wall colour can look different in daylight compared with warm artificial lighting.
If the planner supports lighting features, use them to explore:
- General ceiling lighting.
- Pendant lights above dining areas.
- Task lighting in kitchens and study spaces.
- Bedside and reading lights.
- Accent lighting for selected surfaces.
- Natural light from windows and openings.
Pay attention to shadows and darker corners. A beautiful material combination may not work as intended if the room receives very little daylight or the lighting plan is inadequate.
A visual lighting preview is useful for exploring the atmosphere, but it cannot confirm actual brightness, electrical loads or technical lighting performance. Those details require proper specifications and professional review.
8. Compare Different Layouts Before Settling on One
One of the most useful features of a 3D home planner is the ability to test alternatives without physically moving furniture.
Create two or three layout options when a room has competing requirements.
For a living room, for example, compare:
- A television-focused seating arrangement.
- A layout that gives more importance to guest conversations.
- A flexible arrangement that supports both activities.
For a bedroom, compare wardrobe positions, bed orientation and the location of a study desk or dressing area.
Do not choose an option only because it looks attractive in a single view. Evaluate circulation, access to storage, natural light and the practical use of the room.
Save each version with a clear name so that you can compare the differences rather than relying on memory.
9. Use the Model to Check the Whole-Home Look
When planning more than one room, individual spaces should not be considered in isolation.
A living room with one colour palette, a kitchen with another and bedrooms with unrelated finishes can make the home feel disconnected. The rooms do not need to be identical, but repeating selected materials, colours or design details can help create continuity.
Use the 3D model to review:
- How flooring transitions between rooms.
- Whether wall colours complement one another.
- Whether door and furniture finishes feel coordinated.
- How the entrance connects visually to the living area.
- Whether the overall design reflects the household's preferences.
A whole-home view can also reveal practical conflicts, such as furniture blocking a passage or storage units making a room feel too enclosed.
10. Understand What a Free 3D Planner Can and Cannot Do
A free online 3D planner can be a useful starting point, but its features vary from one platform to another.
Depending on the tool, you may be able to create floor plans, add furniture, apply finishes, view rooms in 3D and save or export images. Some features may be restricted to paid versions or require an account.
Before selecting a tool, check whether it supports:
- Accurate room dimensions and measurement units.
- Doors, windows and structural elements.
- Furniture with editable dimensions.
- Material and colour options.
- Multiple rooms or whole-home planning.
- Saving, sharing or exporting designs.
- Clear terms for free and paid features.
Most importantly, remember that a visual model is not a construction drawing. It does not automatically verify structural feasibility, waterproofing, electrical safety, plumbing slopes, building approvals or installation requirements.
Use it to explore and communicate design ideas, then have technical details checked by the appropriate professionals.
11. Turn the 3D Preview Into a Practical Decision List
A visual design is most valuable when it helps you make decisions.
After comparing layouts and finishes, prepare a simple record of what has been selected and what still needs confirmation.
Your decision list can include:
- Approved room layout.
- Furniture dimensions and placement.
- Preferred floor and wall finishes.
- Cabinet and countertop selections.
- Lighting preferences.
- Storage requirements.
- Items that need site verification.
- Questions for the designer or contractor.
- Estimated costs and pending quotations.
Keep the 3D views and measurements together with this record. This makes it easier to discuss the design with a professional and reduces the chance of different people working from different versions.
A Simple 3D Home Planning Checklist
Before treating your model as a useful design reference, review the following:
- Room measurements have been checked.
- Doors, windows and fixed structural elements are included.
- Furniture dimensions are realistic.
- Movement and access around furniture have been reviewed.
- Flooring and wall finishes have been compared.
- The colour palette works across the room.
- Lighting requirements have been considered.
- Whole-home visual consistency has been reviewed.
- Important decisions have been recorded.
- Technical details have been referred to the relevant professionals.
Explore Your Home Ideas With Walls to Wonder
Once you have a basic idea of the layout and style, digital design tools can help you explore different possibilities.
- Design My Room – explore room concepts, furniture arrangements and finish combinations.
- Whole Home Visualizer – consider how different design choices may work across the home.
- Interior Design Cost Estimate – get an indicative view of interior design costs.
- Interior Quotation Checker – review quotation scope, material details, charges and exclusions.
These tools can help organise ideas and prepare for conversations with a designer. They do not replace accurate site measurements, technical drawings, material samples or professional approvals.
Final Thought
A 3D home planner is more than a way to see how a room might look. Used thoughtfully, it can help homeowners compare layouts, understand proportions, test material combinations and make styling choices with greater clarity.
The most useful model is not necessarily the most elaborate one. It is the one built on accurate measurements and practical requirements, and one that helps you make decisions before they become expensive to change.
See the space, test the options and then make the choices that work in real life.
Frequently Asked Questions
1. What is a 3D home planner free online?
It is an online tool that allows users to create a digital representation of a home or room, often by entering dimensions, placing furniture and applying materials or colours.
2. Can I use a free 3D home planner without design experience?
Many planners are designed for general users and provide visual tools for arranging rooms and furniture. The available features and learning curve vary by platform.
3. How accurate are online 3D home planners?
Their accuracy depends on the measurements and specifications entered by the user. A model created with approximate dimensions should be treated as a visual guide rather than a precise technical plan.
4. Can I select flooring, wall colours and furniture in a 3D planner?
Many tools offer libraries of furniture, colours and surface finishes. The range of available options depends on the software and whether features are included in its free version.
5. Does a 3D home planner replace an interior designer or architect?
No. It can help explore ideas and communicate preferences, but it does not replace professional design development, structural assessment, technical drawings or site supervision.
6. What should I measure before creating a 3D home plan?
Measure room length, width and ceiling height, along with door and window dimensions and positions. Include columns, recesses, fixed furniture and other features that affect the usable space.
Turn this idea into a plan for your home
Visualise your space, understand the likely budget, or find a professional who can bring the idea to life.