
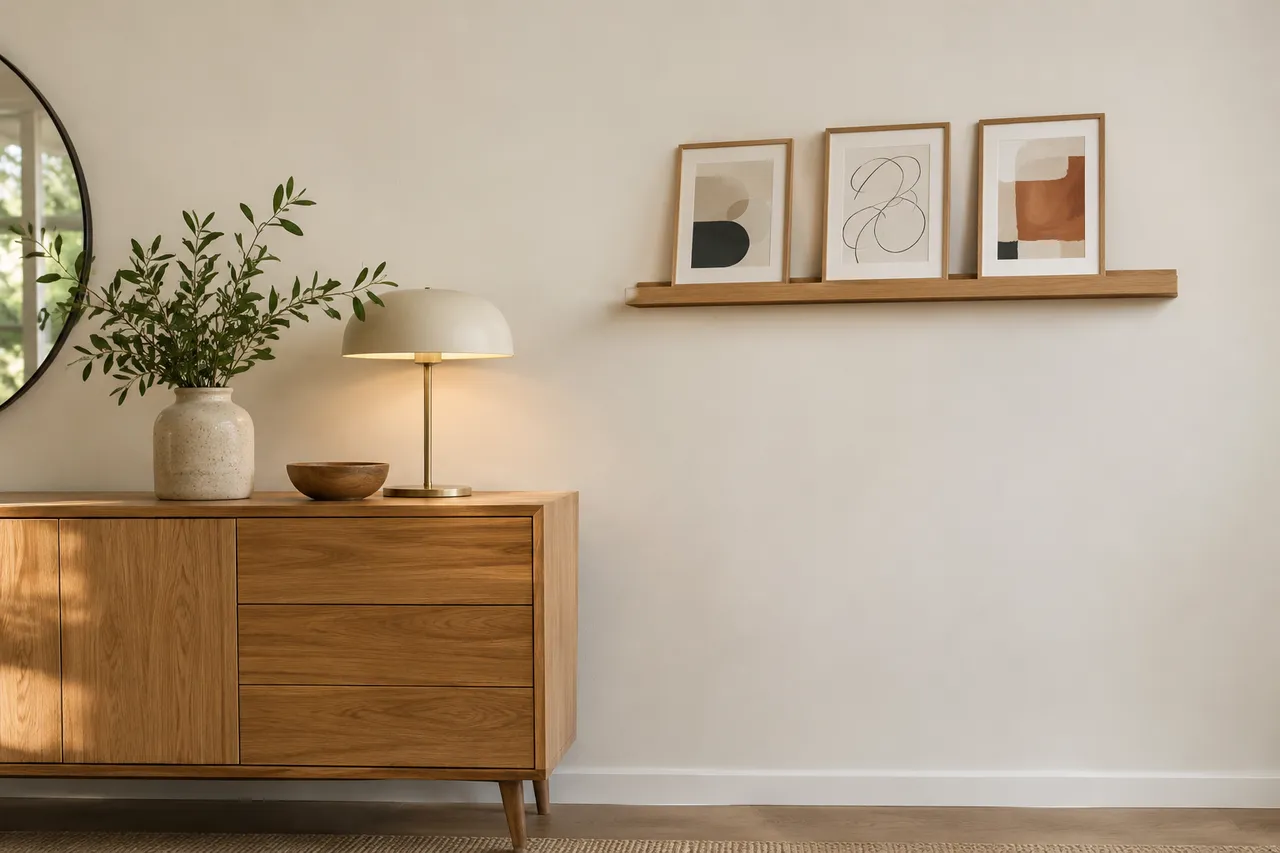
Picture Ledge Ideas: A Flexible Wall Display for Photos and Small Prints
For a picture ledge display, choose frames that fit the ledge’s usable depth and the manufacturer’s permitted size and load. Arrange the complete group on a table first, then install the ledge with fixings suited to the wall. Leave some space between pieces so you can swap artwork without overcrowding it.
Before you start
- Time: 30–45 minutes for layout planning; wall assessment and installation are separate.
- Planning budget: Price the ledge, suitable wall fittings and installation together. Reuse frames that meet the product’s stated requirements.
- Materials: Frame dimensions and weights, tape measure, paper outline and the exact ledge installation instructions.
Choose a wall where the display can stay secure
Start with a wall where leaning frames will not be knocked by normal movement. Avoid treating the space above a bed, cot or busy seat as the default location for loose display objects. Consider children, pets and doors that may strike the arrangement.
Measure the width available between nearby switches, openings and furniture. A narrow ledge still projects from the wall, so check it from the side. The display should not turn a clear passage into a place where shoulders or bags catch an edge.
Read the exact product limits
Check usable depth, maximum load and any limits on frame height or intended contents. These vary by model. Do not copy a weight or height from a different ledge just because the products look similar. Include the weight of every item in the planned group.
IKEA’s MOSSLANDA product page illustrates why model-specific dimensions and load information matter. Use the instructions for the exact product you purchase, and check how its wall-fixing requirements apply to your surface.
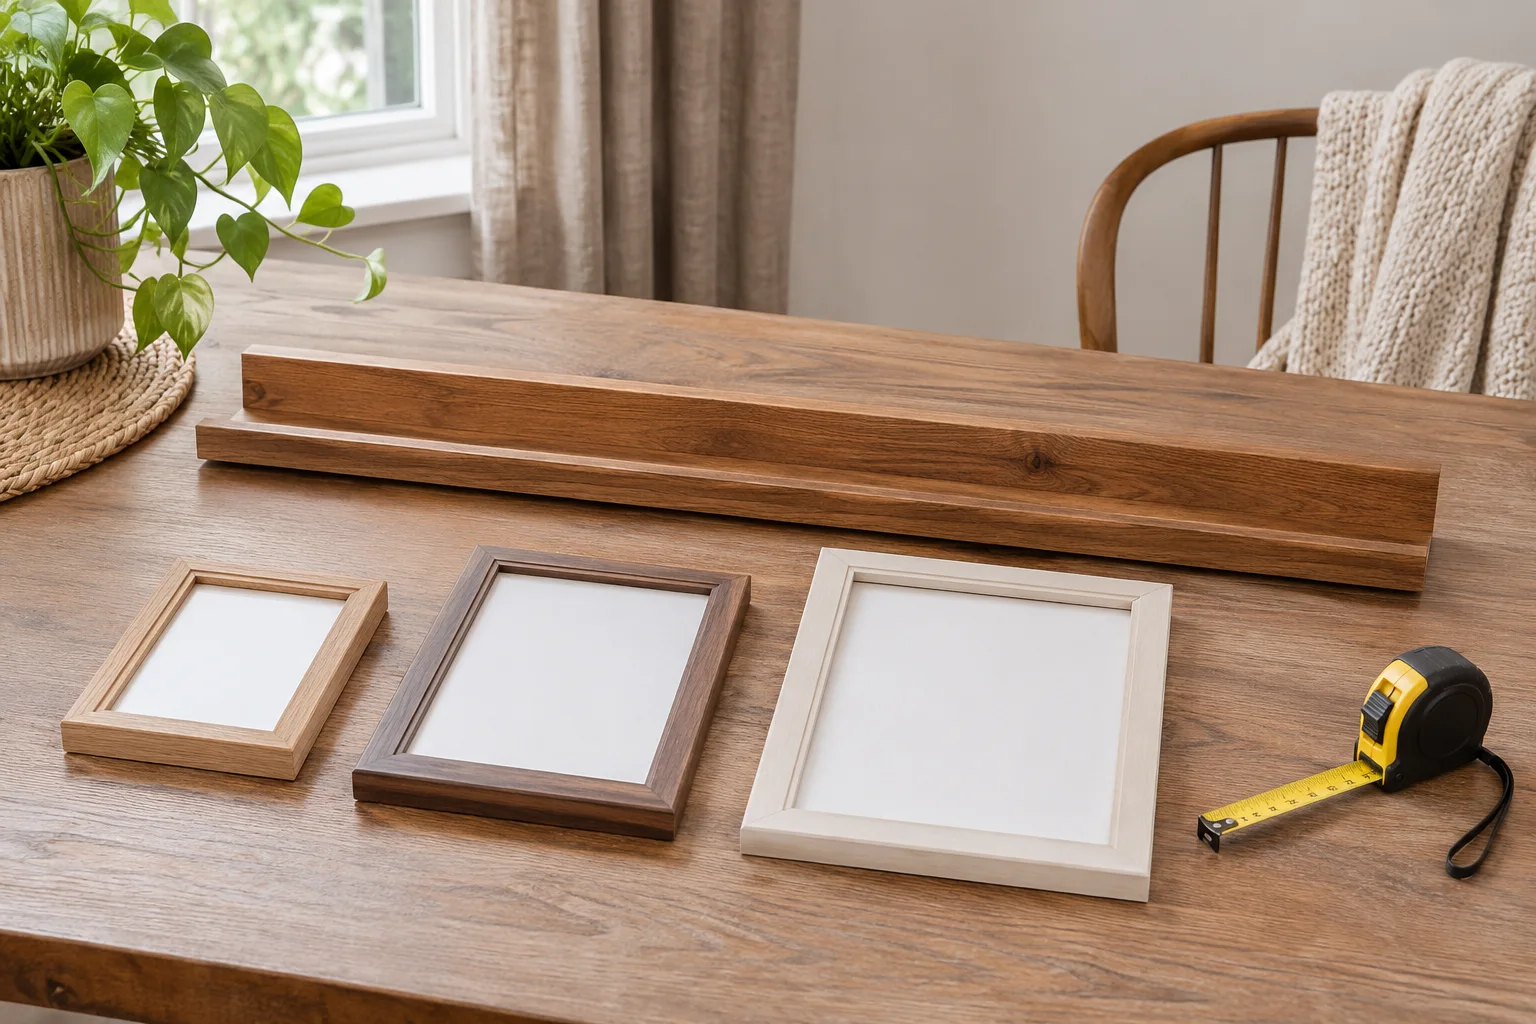
Arrange frames before installation
Set the proposed group on a table using the ledge’s usable width as a boundary. Begin with two or three compatible frames rather than trying to fill the entire length. Keep important parts of each picture visible and avoid unstable deep overlaps.
- Record each frame’s outer dimensions.
- Confirm its weight and base depth.
- Test a balanced arrangement within the product limits.
- Photograph the layout for reference.
Use paper outlines on the wall to assess scale before marking any fixing points.
Match installation to the wall
Follow the manufacturer’s assembly and wall-fixing instructions. The appropriate fasteners depend on the wall construction and the complete installation, not simply on the ledge colour or length. If the wall type or fixing position is uncertain, ask a competent installer to assess it.
A picture ledge should not be treated as an adhesive-only project unless the specific product explicitly supports that method and surface. Check permission before making holes in a rented property. After installation, follow the maker’s guidance before placing the planned items.
Make rotation simple and controlled
Keep a small collection of suitable spare prints in a protected storage place. Swap one piece at a time, staying within the original size and load limits. Recheck stability after each change rather than assuming every new frame behaves like the previous one.
Dust the ledge and frames with methods suitable to their finishes. Avoid filling gaps with heavy objects merely to complete a composition. If a new piece does not fit safely, use another display location. Flexibility comes from a carefully limited collection.
Plan your space with WallsToWonder
Compare a ledge with other WallsToWonder wall decor ideas. For a fixing assessment, share the product instructions and wall details with a relevant professional from the company directory.
Frequently asked questions
Is a picture ledge the same as a general shelf?
No. Its intended contents and limits may differ. Follow the exact product instructions rather than using it as unrestricted storage.
Can I lean large artwork on any ledge?
No. Check permitted frame dimensions, depth, load and stability for the specific ledge before planning the arrangement.
Can I install a picture ledge without drilling?
Only if the exact product is designed for that method and your surface meets its instructions. Do not substitute adhesive for required wall fixings.
How do I stop the display looking crowded?
Begin with fewer frames, keep their images visible and leave some open space. Rotate suitable pieces rather than displaying the whole collection at once.
Related practical guides
- Home Decor Rotation: Refresh One Display Using Accessories You Already Own
- Decorative Storage Baskets for Living Rooms: Choose by What Goes Inside
Sources and product guidance
Turn this idea into a plan for your home
Visualise your space, understand the likely budget, or find a professional who can bring the idea to life.