
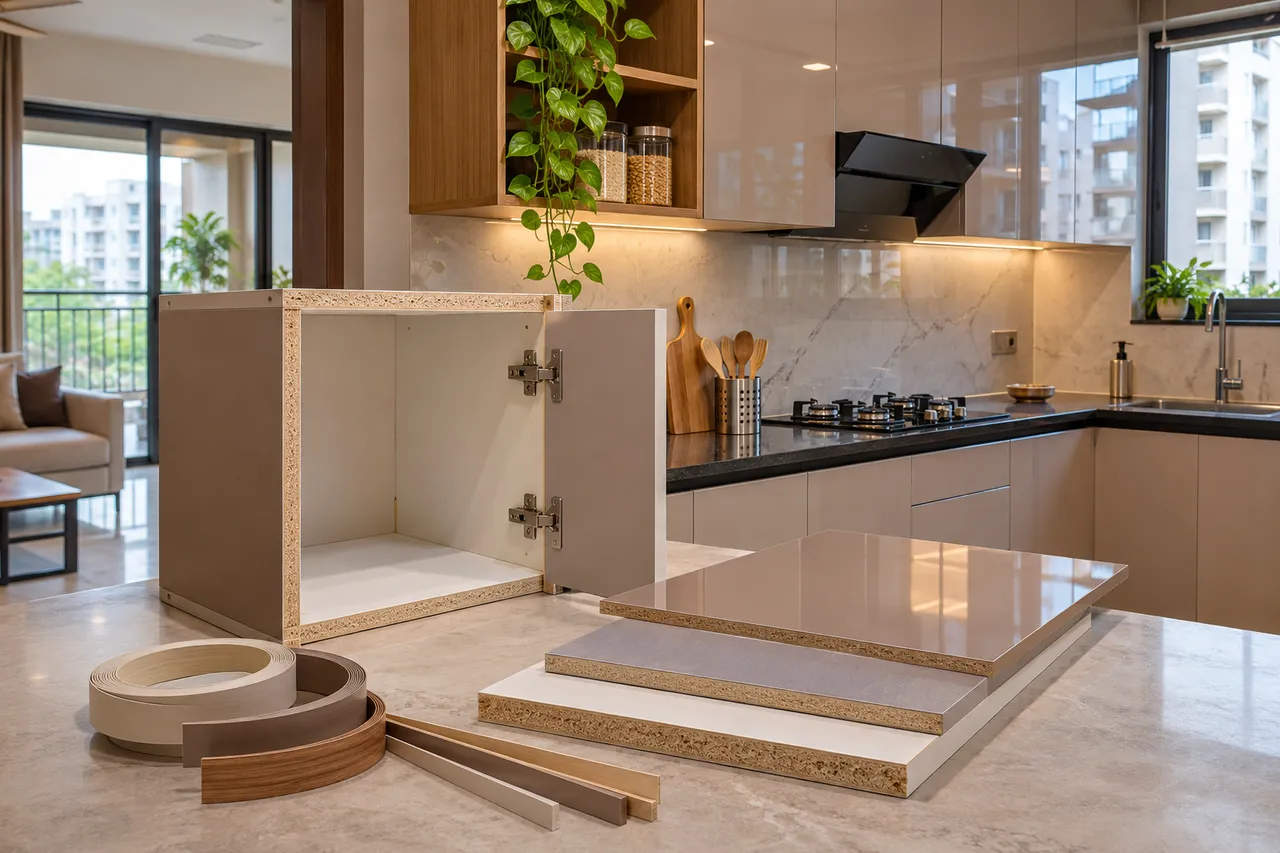
Pimpri Interior Materials Guide: Choosing Plywood, HDHMR and Finishes Room by Room
To choose interior materials for a Pimpri home, specify each cabinet’s load, exposure and finish requirements before selecting a board. Record the exact product, thickness, edge treatment and hardware. Plywood and HDHMR are not interchangeable labels, and a moisture-resistance claim does not replace the manufacturer’s intended-use guidance or careful installation around services.
Check the product document rather than a generic material label
Ask for the current datasheet and warranty for the exact board being offered. Marketing names alone do not establish a common grade, thickness, load capacity or suitability for every application. The complete cabinet design also depends on spans, supports, fasteners, finish and edge protection.
For example, Greenply identifies its 710 HDMR as an engineered fibreboard product. That does not make a similarly named product identical to marine plywood. Verify the declared material and applicable certification for the exact purchase.
- Mark the room and cabinet use.
- Record expected exposure and load.
- Request the specific product and technical guidance.
- Confirm thickness, supports, edges and fixing details with the designer.
- Keep the approved sample and product reference together.
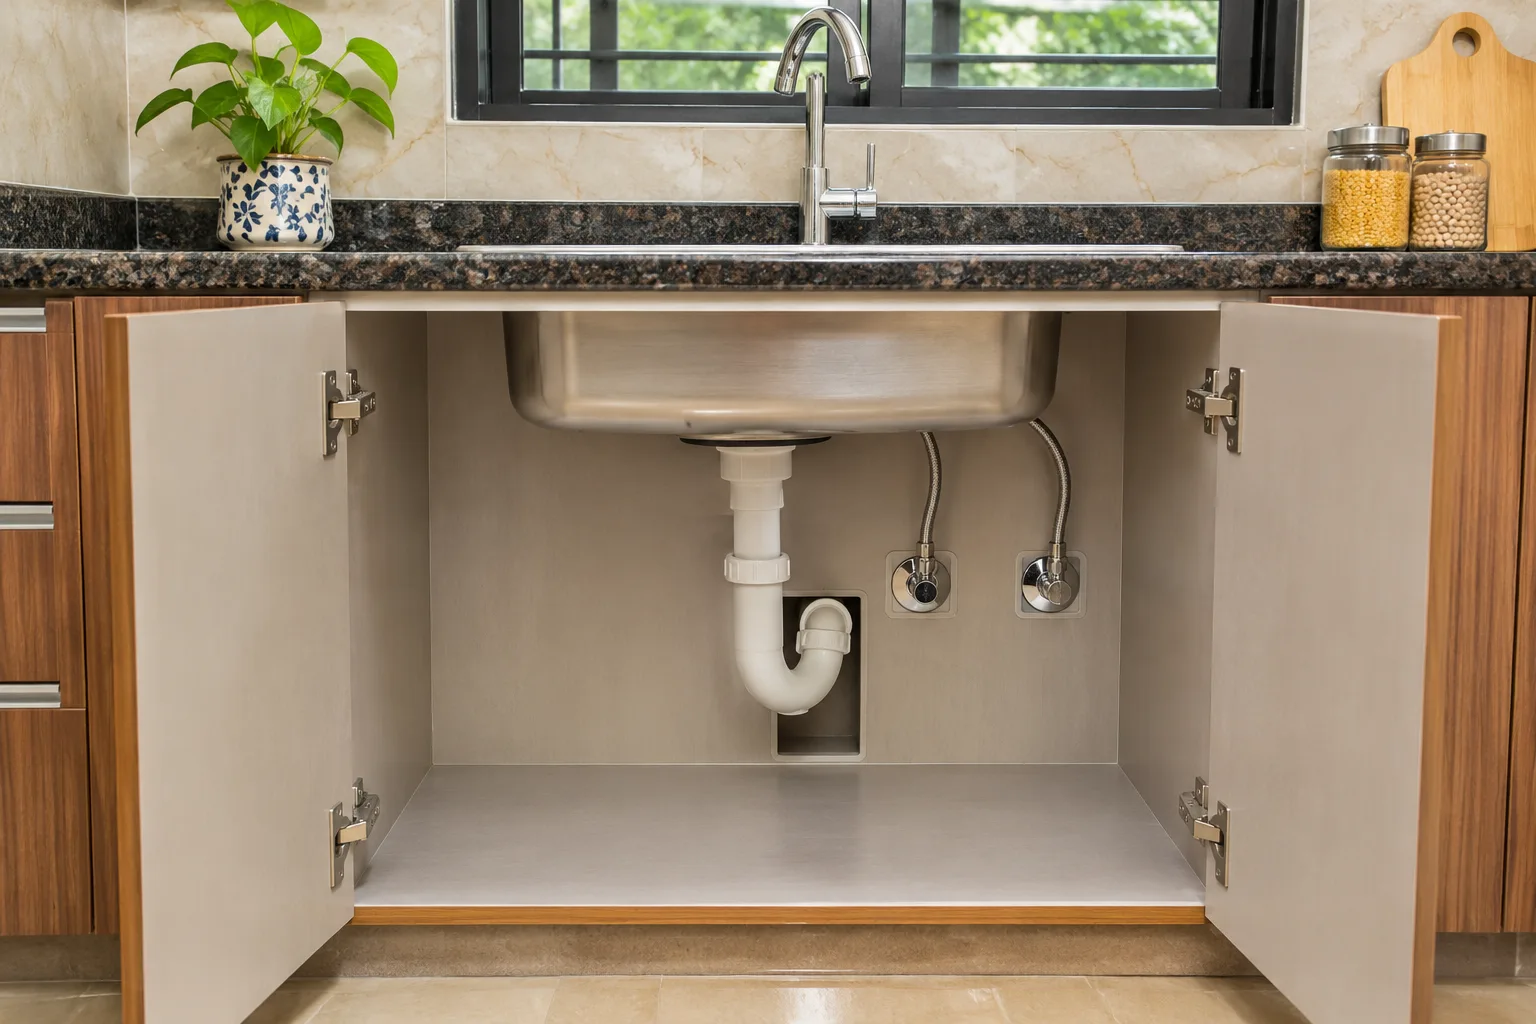
Resolve leaks or other underlying site problems before installing new boards. A material upgrade cannot compensate for an unresolved plumbing fault. Ask how vulnerable joints and service cut-outs will be detailed and maintained.
A useful way to read a material quotation
Start with the substrate: plywood, HDHMR, MDF or another board. Next identify the exposed finish, such as laminate, acrylic, veneer or paint. Then check the functional components—hinges, drawer channels, lift-up mechanisms and handles. Finally, inspect the vulnerable edges and joints.
| Layer | What it controls | Questions for the designer |
|---|---|---|
| Substrate | Strength, screw holding, weight and behaviour near moisture | What board is specified for each room and cabinet type? |
| Finish | Appearance, cleaning, scratch visibility and replacement | Is the finish on one face or both? How are cut-outs treated? |
| Hardware | Movement, alignment, load handling and long-term usability | Which hinge or channel is included, and what does it support? |
| Edge banding | Protection from impact, water entry and visible board edges | What thickness and application method are proposed? |
A quote that names only “premium plywood with laminate” leaves too much unresolved. The board grade, thickness, finish code, edge band, hardware range and installation scope should appear in writing.
Hypothetical Pimpri home: the decision is not one-size-fits-all
Illustrative scenario, not a claimed completed project: Consider a family apartment in Pimpri with a frequently used kitchen, a utility balcony connected to the kitchen, two bedrooms, a compact TV unit and a study ledge. The family wants closed storage, easy cleaning and a restrained budget. The home is occupied during the work, so dust, installation sequence and reliable access to the kitchen matter.Assess each unit by its actual load, span, support and fixing requirements. A TV unit, pantry and study ledge can have different demands, but their category names alone do not establish the board specification.
Rejected option one: plywood throughout
The first proposal specifies plywood for every carcass, shutter and shelf. Its appeal is simple procurement and a familiar specification. Yet it may allocate a higher-cost, stronger substrate to low-load applications where the extra performance is not necessary. It also does not solve poor sealing around sink cut-outs, unprotected edges or badly adjusted hardware.
Rejected option two: one board type for the entire home
The second proposal uses HDHMR throughout because it offers a smooth surface and can work well in many dry interior applications. The weakness is the same: a single answer ignores the kitchen sink zone, utility exposure, long shelves and the installer’s ability to protect joints. Board selection cannot compensate for water entering through an unsealed cut edge.
Final decision logic
In this illustrative brief, the better route is a room-by-room specification. Use a moisture-tolerant, adequately thick substrate for the sink cabinet and other exposed kitchen areas, while assessing plywood or HDHMR for drier cabinet sections according to span, fixing and finish requirements. Use the same finish family where visual continuity matters, but do not assume that matching laminate means matching board.
The designer should show a cabinet schedule marking the board, thickness, finish, edge band and hardware for every zone. That document is more useful than a general promise that all materials are “waterproof” or “premium”.
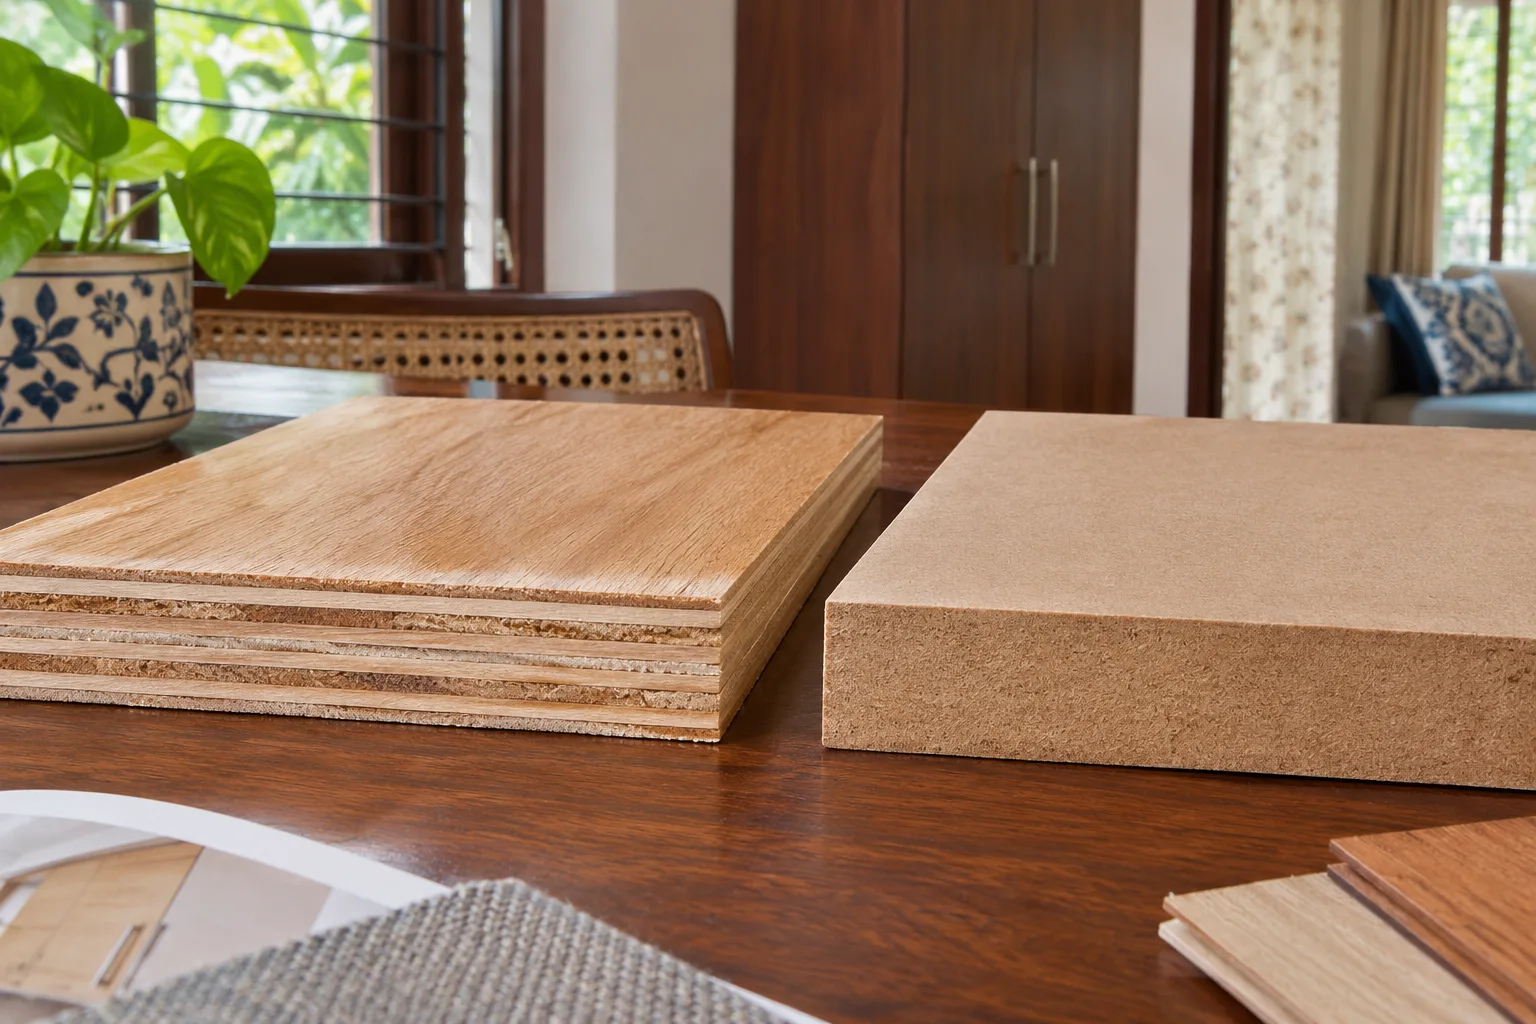
Room-by-room choices that survive daily use
Kitchen and utility
For each proposed board, check the exact manufacturer guidance for the intended cabinet, exposure, loads and installation. Review moisture management around the sink, appliance connections and cut-outs. No generic board label removes the need to resolve leaks and detail the complete assembly correctly.
For finishes, textured or matte laminates can be forgiving around fingerprints and small marks, while glossy surfaces reveal reflections and cleaning streaks more readily. The practical choice depends on the household’s tolerance for maintenance. Use corrosion-conscious hardware selection in areas exposed to steam or dampness, and specify sealing around plumbing penetrations.
Wardrobes and dressing storage
Bedrooms are generally less demanding than wet kitchen zones, but wardrobes still carry heavy shutters, shelves and drawers. The board thickness should respond to the shutter size and unsupported span. A slim shelf loaded with books needs a different judgement from a short shelf holding folded clothing.
Laminate is usually easier to maintain than a delicate painted surface in a busy family bedroom. Edge banding must match the shutter and carcass edges; mismatched or poorly bonded bands are visible quickly and can lift after impact. Check whether loft shutters are included in the same material schedule or priced separately.
Living room, foyer and pooja storage
These areas are visually prominent but usually have varied structural demands. A TV unit may need cable openings, ventilation and accessible service panels more than a heavy-duty board everywhere. A foyer cabinet benefits from impact-resistant edges because bags, footwear and daily movement create contact points.
For a pooja unit, discuss heat, oil, cleaning and the location of electrical points before choosing a finish. Laminates offer predictable maintenance; veneer or paint may be selected for appearance, but the quotation should state the finishing process and touch-up responsibility.
Study, kids’ room and occasional storage
Prioritise rounded or well-finished exposed edges, stable shelves and hardware that can be adjusted. A study ledge needs careful support and a durable front edge. In a child’s room, avoid leaving sharp hardware projections and ask how the design handles future changes in storage needs.
Monsoon-ready detailing is mostly about execution
Pune’s monsoon conditions make moisture exposure a useful design question, but the answer is not simply “use waterproof plywood”. Water can enter through sink cut-outs, raw drilled holes, plumbing gaps, floor contact, damaged edge bands and poorly sealed wall junctions.
- Keep cabinet bottoms clear of likely wet contact where the layout permits.
- Seal cut-outs around plumbing and electrical openings rather than leaving exposed board.
- Use a compatible edge band and confirm that it is properly bonded on visible and vulnerable edges.
- Coordinate countertop, sink, skirting and cabinet installation so water does not collect behind the unit.
- Record the material warranty separately from installation workmanship and hardware warranty.
Site coordination matters in occupied Pimpri apartments. Measure after wall finishes and flooring levels are confirmed, protect existing surfaces, and sequence carcasses around plumbing and electrical work. A designer’s service may include design, drawings, material procurement, factory production, installation and snag correction—but these inclusions must be written into the scope.
Use the quote to compare designers, not just totals
Designers serving Pimpri may structure fees differently: some separate design and execution, while others provide a combined quotation. Compare the information inside the quote before comparing the final amount. A lower total can reflect fewer internal shelves, unspecified hardware, limited finish options or exclusions for civil and electrical work.
Ask for a room-wise scope with quantities or measurable descriptions. “Kitchen as discussed” is not enough. The document should identify shutters, carcasses, shelves, drawers, handles, lights, skirting, lofts and any repair work. For renovation projects, clarify who removes existing furniture, shifts appliances, disposes of debris and makes good damaged walls.
Before paying an advance, ask: Which exact board and thickness are included? What is the finish code? Are both sides finished? What edge band is specified? Which hardware range is included? What happens if a selected product is unavailable? Who checks measurements, and what is excluded from the quoted scope?Useful red flags include a material brand without a grade or thickness, “waterproof” used as a blanket promise, no hardware schedule, no drawing approval stage, pressure to pay before the scope is frozen, and a quote that does not distinguish supply from installation. Ask for physical samples or finish swatches and compare the written specification with the sample.
Two checks that make early budgeting less vague
Build a working budget
Use the interior design cost estimator to organise an initial scope. Treat the result as a planning reference, then revise it when board types, hardware and civil work are confirmed.
Interrogate the quotation
Run the document through the quotation checker to identify missing scope language and comparison points before discussing revisions with a designer.
These tools do not replace sample checks, site measurement or professional judgement. Their value is in helping a homeowner ask sharper questions before an advance is committed.
A compact material review before approval
- Mark each cabinet as dry, splash-prone or regularly exposed to moisture.
- Record board type, thickness, finish, edge band and hardware—not only the brand name.
- Check long shelves, tall shutters and drawer loads separately.
- Confirm service access for plumbing, appliances, wiring and future repairs.
- Match the final quotation to approved drawings, finish samples and the payment schedule.
For additional room-by-room comparison, see this related Pune interior materials guide. The locality differs, but the method of separating substrate, finish, hardware and execution remains useful.
Frequently asked questions
- Is plywood better than HDHMR for every Pimpri interior?
- No. The appropriate choice depends on moisture exposure, load, span, fixing requirements, finish and budget. Specify it room by room.
- Can laminate make a cabinet waterproof?
- No. Laminate protects the exposed surface, but joints, cut-outs, edges and plumbing openings still need careful sealing and installation.
- What should I ask about edge banding?
- Ask for the edge-band material, thickness, colour match, application method and the edges included. Inspect corners and cut-outs in the sample or mock-up.
- Should hardware be listed separately in the quotation?
- Yes. Hinges, drawer channels, lift-ups and handles affect usability and cost, so the range, quantity and load suitability should be clear.
- Can WallsToWonder help before I select a designer?
- Yes. You can use the planning tools above and browse the WallsToWonder designer directory to compare available designers and companies serving your requirements. Review each provider’s scope and terms directly before proceeding.
Take the material schedule seriously
The strongest interior decision is rarely “plywood everywhere” or “the cheapest board”. It is a written, room-wise logic that connects exposure, load, finish, edge protection, hardware and installation. Start by preparing that schedule, then compare designers and quotations against it.
For more local planning context, revisit the related Pune materials guide and use the WallsToWonder tools before your next designer discussion.
Prepare your next review with WallsToWonder
Use the interior cost estimator to organise a preliminary scope and the quotation checker to identify questions for the provider. Confirm the results against the site and written documents. Explore the company directory and confirm service availability in Pimpri, Pune directly.
For a related practical checklist, read this guide to planning the actual room, site or handover before your next consultation.
Turn this idea into a plan for your home
Visualise your space, understand the likely budget, or find a professional who can bring the idea to life.