
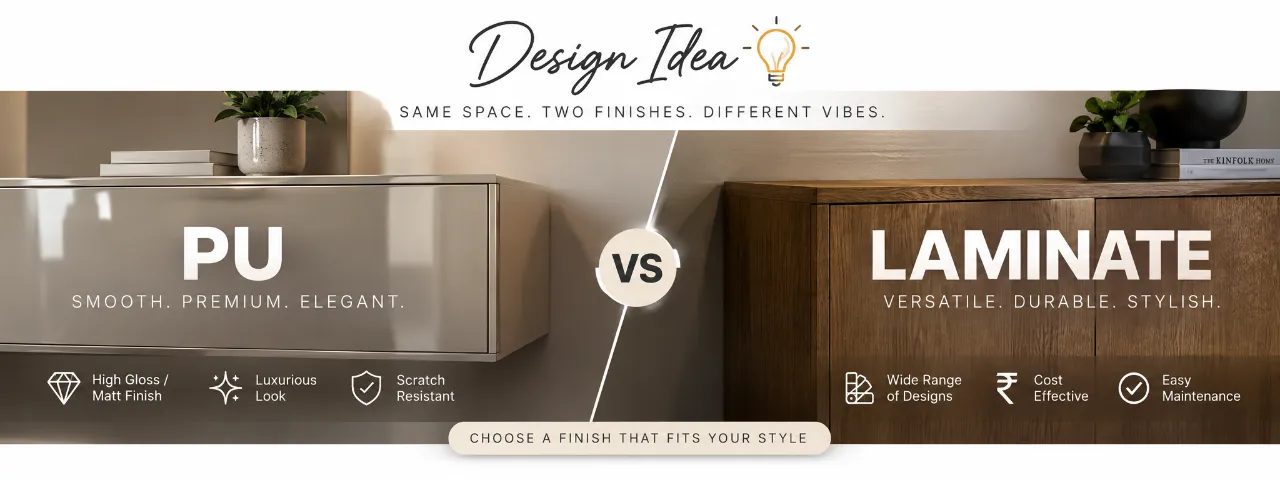
PU vs Laminate
PU vs laminate is not simply a choice between an expensive finish and a practical one. The two materials behave differently, age differently and suit different parts of a home. PU is a painted coating, usually applied over MDF or another suitable substrate. Laminate is a manufactured sheet bonded to a board such as plywood, MDF or particle board.
That distinction matters when you compare interior designers. A quotation that says “PU kitchen” or “laminate wardrobe” is incomplete unless it also states the board, thickness, edge treatment, hardware, finish level and installation scope. Use this guide to understand the options before you shortlist designers and companies serving your area. You can also browse relevant design ideas and completed interior projects to see how different finishes look in real rooms.
Step 1: Understand what you are actually comparing
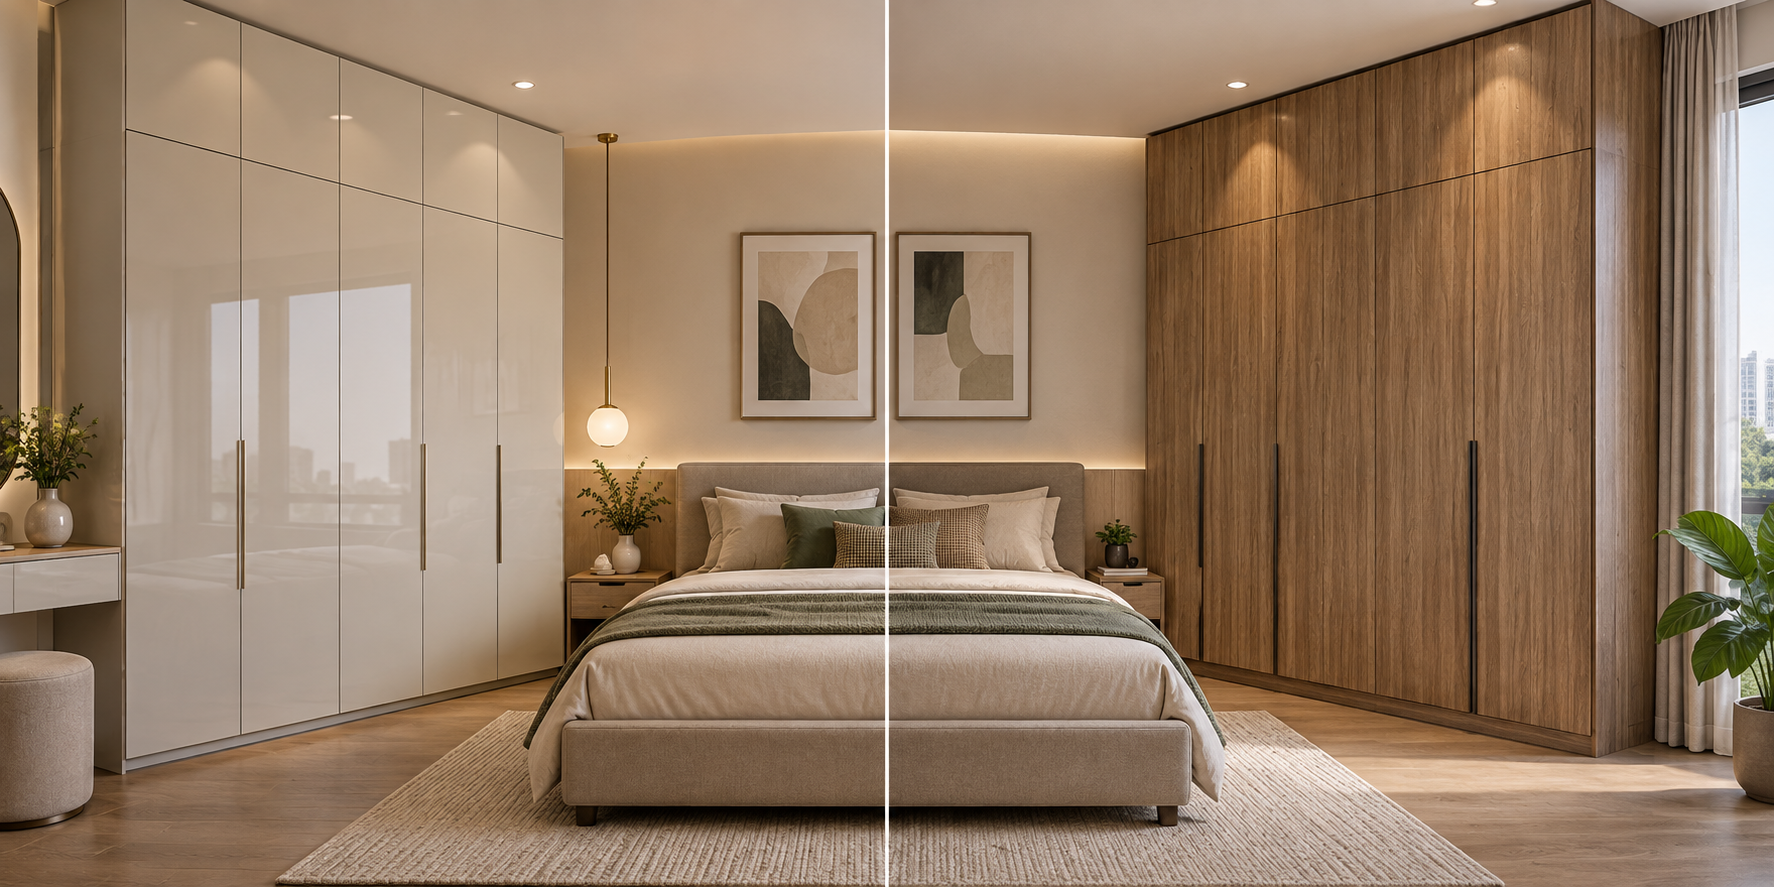
PU, short for polyurethane, is applied as a liquid paint system and then cured. It can be polished to a high gloss or specified in a matt or satin finish. The final appearance depends on the preparation, number of coats, spray environment, colour and workmanship. It is often selected for shutters, wardrobe doors, TV units and feature cabinetry where a continuous colour is desired.
Laminate is a thin decorative sheet pressed and bonded to a board. It is available in solid colours, woodgrains, stone-like patterns, textures and high-gloss or matt surfaces. It is commonly used for kitchens, wardrobes, storage units, study furniture and utility areas because the finish is relatively consistent and easy to specify.
Step 2: Shortlist designers who explain the specification
When comparing designers, do not judge only by photographs. Ask how they develop the design, prepare drawings, select materials, coordinate civil or electrical work and manage installation. Depending on the company and the project, services may include space planning, 3D views, modular kitchen design, wardrobes, false ceilings, lighting layouts, loose furniture, painting, site coordination and handover support.
For a flat, independent house, rental upgrade, renovation or builder-finished apartment, the right scope can be quite different. A designer serving a compact apartment may need to prioritise storage and access; a renovation project may require dismantling, surface repairs and protection of existing flooring. Ask prospective designers to separate design, manufacture, delivery, installation and allied work instead of presenting one unexplained figure.
Use the WallsToWonder designer directory to explore designers and companies serving the area. Before sharing a full brief, prepare a room list, approximate measurements, preferred style references, move-in date and a realistic budget range.
- You want a smooth, furniture-like colour with minimal visible pattern.
- A premium-looking shutter or feature wall is more important than the lowest initial cost.
- You are willing to handle touch-ups carefully if a painted surface is chipped.
- You want a wide selection of wood, stone, solid and textured finishes.
- Several rooms need a consistent, practical surface.
- Easy replacement of an individual shutter or panel is a priority.
Step 3: Set a budget without comparing unlike quotations
There is no responsible single price for PU or laminate work. The total changes with the number of cabinets, board and thickness, finish grade, internal accessories, hinges and channels, site conditions, transport, taxes where applicable and the amount of allied work. A small bedroom wardrobe with plain shutters is not a useful benchmark for a full kitchen with tall units, corner mechanisms and appliances.
PU can cost more because it involves surface preparation, controlled application, drying or curing time and additional handling. Laminate pricing varies by brand, surface, thickness, pattern, edge detail and board specification. A premium laminate can narrow the difference, while a basic laminate and a carefully specified PU finish may sit in different parts of the budget altogether.
For a first check, use the interior cost estimator as a planning aid rather than a final quotation. Record assumptions: number of running feet or square feet, whether lofts are included, internal shelves, hardware, lighting, handles, delivery and installation. Your designer should then revise the estimate after a site visit and detailed measurements.

Plan the budget first
Use the AI interior cost estimator to organise an early scope and identify the inputs you still need to confirm.
Read the quotation critically
Run the document through the AI quotation checker to spot missing line items and questions for the designer. Treat its output as a review aid, not a substitute for professional confirmation.
Step 4: Inspect the material, not just the sample photograph
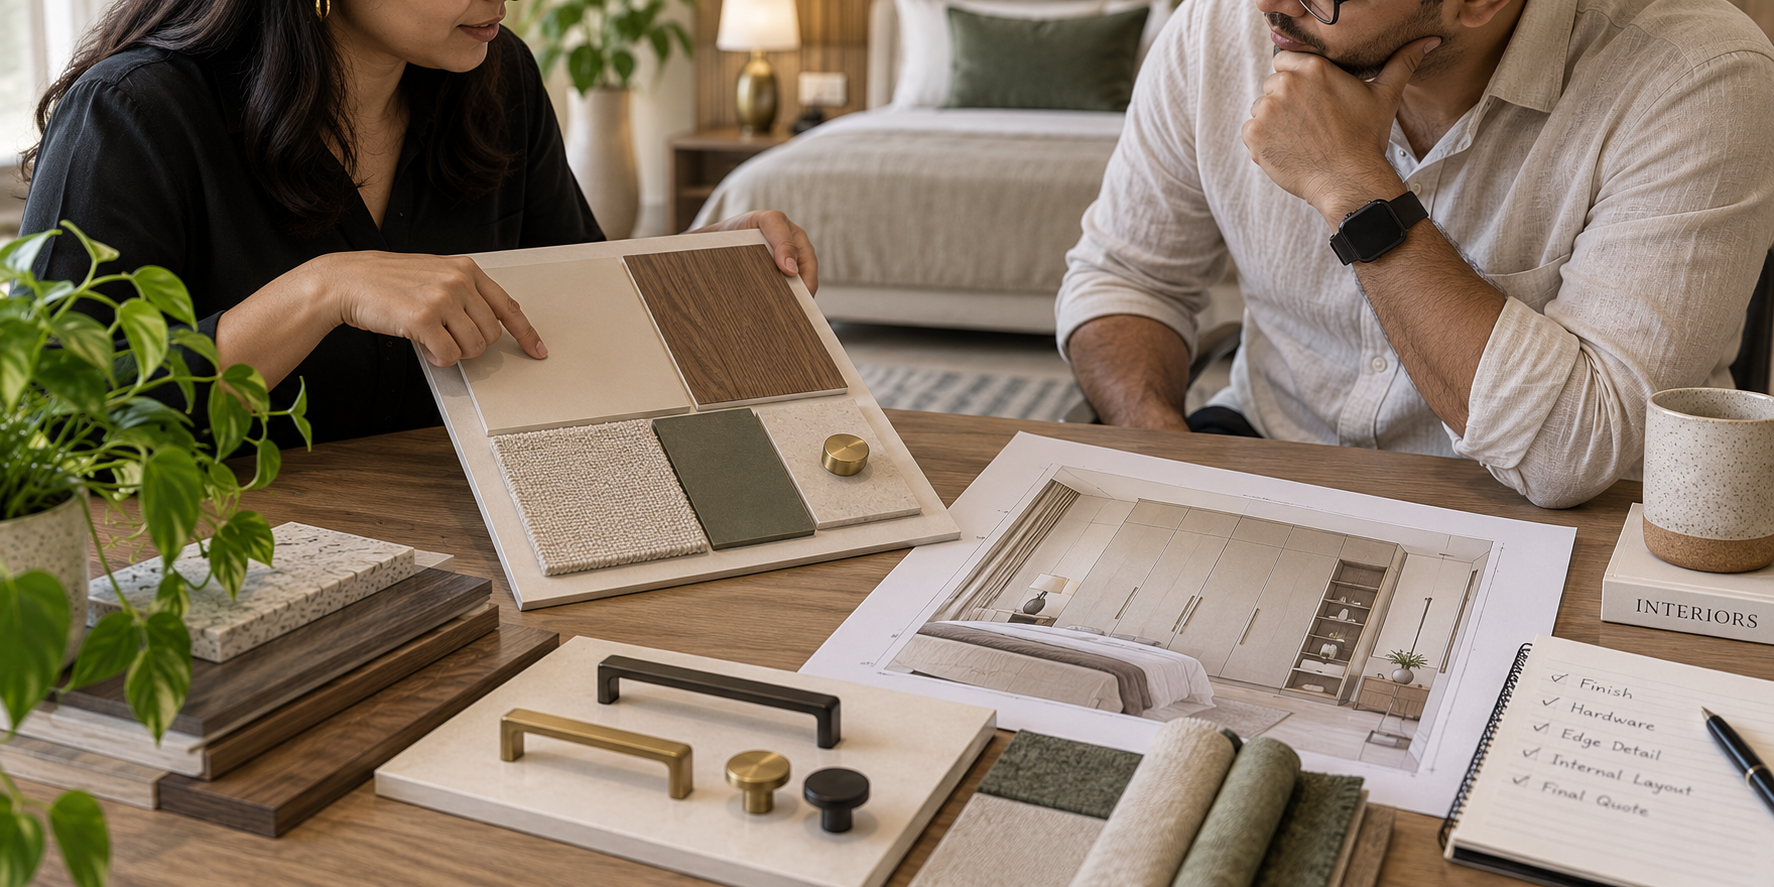
Ask to see a physical sample in daylight and warm indoor light. Gloss can reveal reflections, while matt surfaces may show dust, fingerprints or uneven preparation differently. Compare the front face, back face, edge and a nearby board sample. A small sample cannot fully predict how a large wardrobe door will look, so request a larger sample or a photograph from a completed project where possible.
What to inspect in PU
- Check whether the finish is matt, satin or gloss, and whether the quoted colour is custom or from a standard range.
- Look across the surface at an angle for waviness, dust nibs, pinholes, uneven sheen or visible sanding marks.
- Ask where spraying and curing will happen. Site application can require stronger protection and careful ventilation; the method depends on the project and the vendor.
- Confirm the repair process for chips, scratches and future colour matching.
What to inspect in laminate
- Check whether the design direction must be aligned across doors and panels. Matching can increase material use.
- Inspect edge bands, corners and joints for neat bonding without exposed board edges.
- Ask how the laminate will be cleaned and whether the chosen texture is suitable for frequent handling.
- Confirm the exact finish code or sample reference, since names such as “oak” or “beige” are not precise specifications.
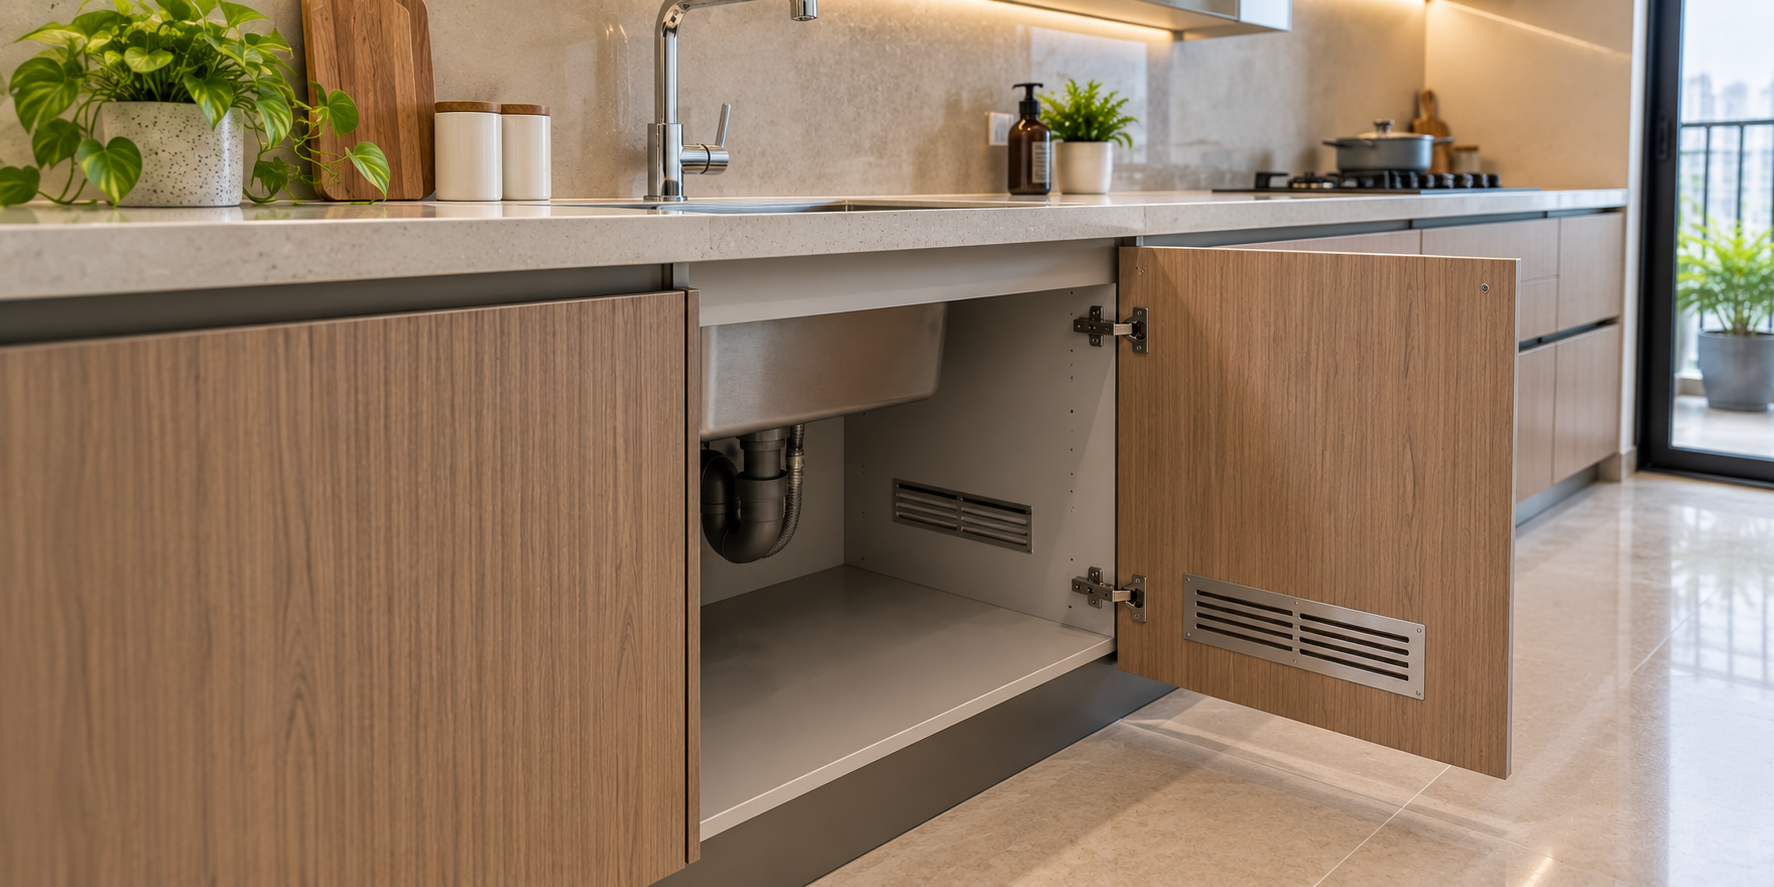
For kitchens and utility areas, water near sinks, steam, heat and cleaning chemicals deserve special attention. Neither finish makes a cabinet waterproof. Board selection, sealing, ventilation, a properly fitted sink and prompt drying of spills remain essential.
Step 5: Compare PU and laminate by room and use
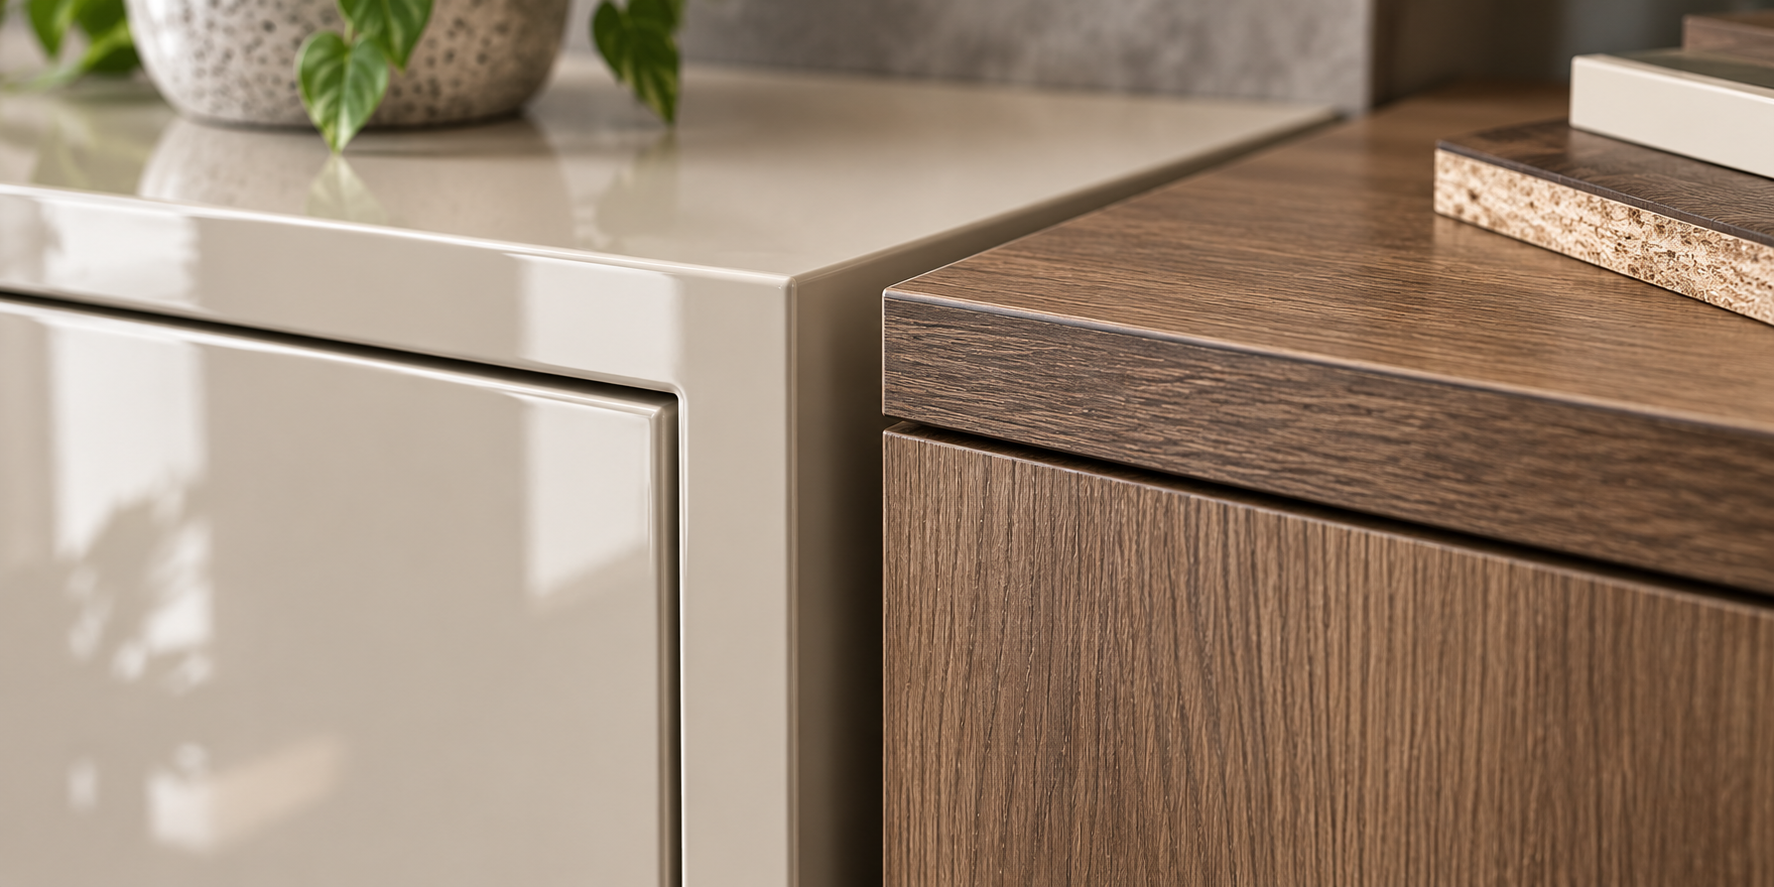
| Consideration | PU finish | Laminate finish | Practical question |
|---|---|---|---|
| Appearance | Continuous painted colour with matt, satin or gloss possibilities. | Broad range of colours, textures, patterns and woodgrains. | Do you want a quiet single colour or a repeatable pattern? |
| Cleaning | Usually wiped with a soft, damp cloth; harsh products can affect the coating. | Generally straightforward to wipe, subject to the manufacturer’s care guidance. | Who will clean the room, and how frequently? |
| Damage | Scratches or chips can be noticeable and may need refinishing or touch-up. | Edges and corners can chip or lift if poorly bonded or subjected to impact. | Is the repair method and responsibility written down? |
| Consistency | Depends heavily on preparation, application and curing conditions. | Factory-made sheets usually provide more predictable repeatability. | Can the designer show a finished sample or reference installation? |
| Design changes | Custom colour and profile choices may be possible, subject to the applicator. | Easy to specify from a sample range, but matching batches and direction matters. | Will future additions need to match the same finish? |
| Best use | Feature shutters, wardrobes, display units and selected cabinetry. | Kitchens, wardrobes, utility storage and larger areas needing practical coverage. | Is the surface exposed to water, heat, children or heavy daily use? |
Step 6: Read every quotation line by line
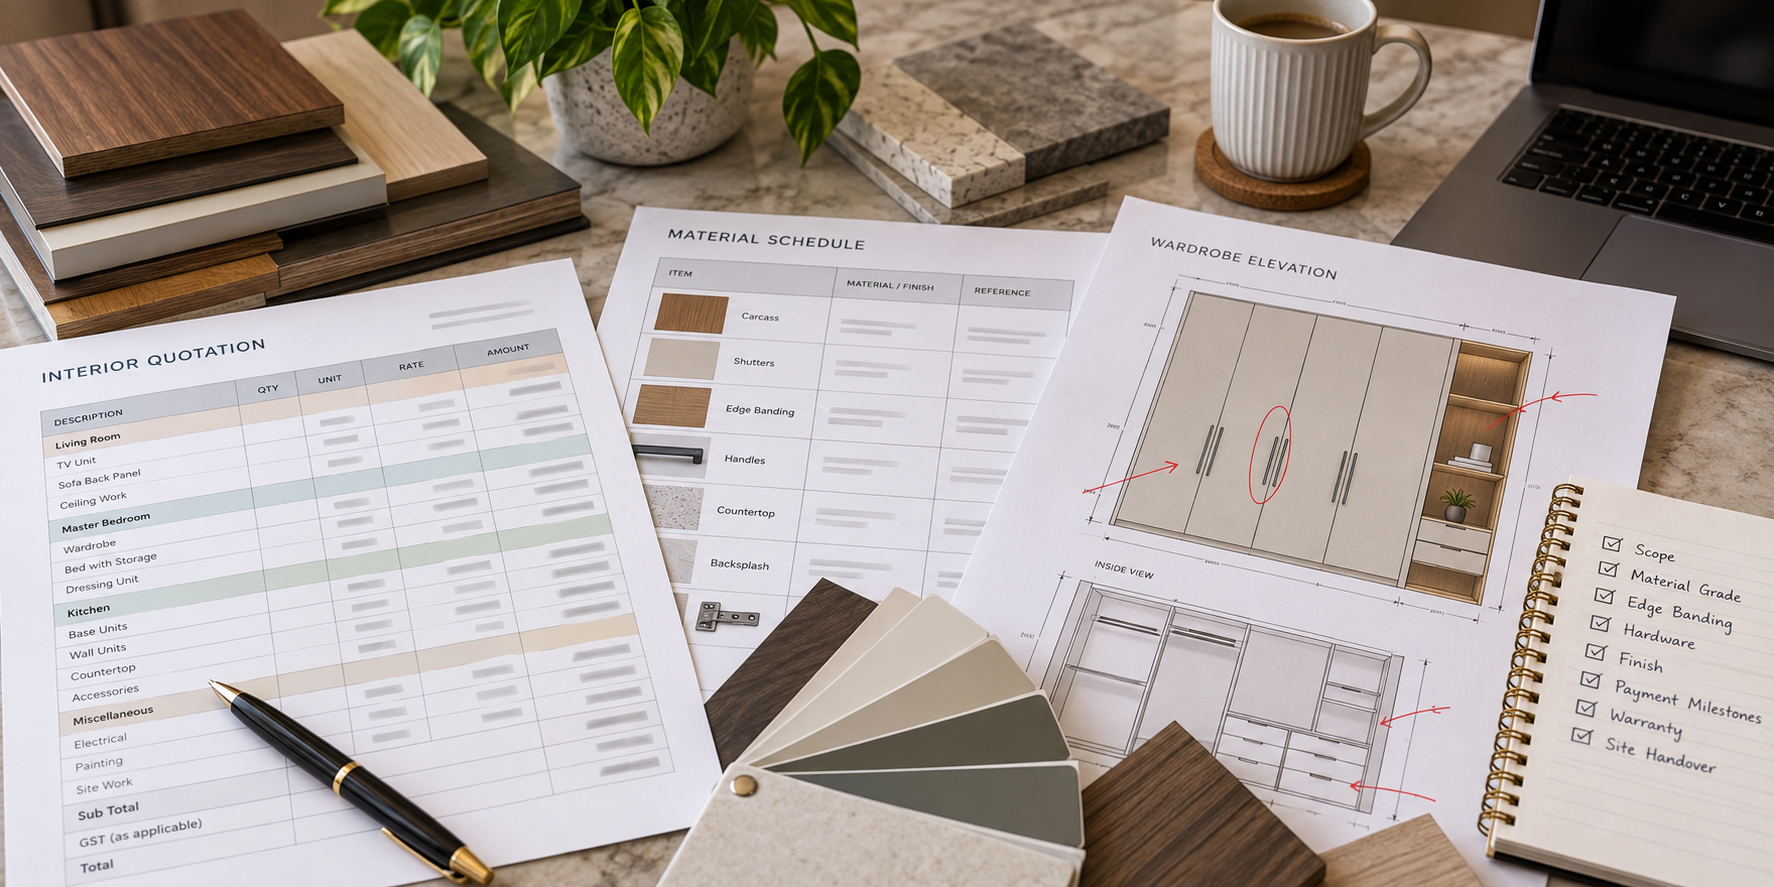
A trustworthy quotation should let you understand what is included and what is excluded. “PU finish” alone is not enough. Look for a room-wise schedule and a material specification that can be checked at site.
- Board type, thickness, grade and where each board will be used.
- Shutter construction, edge treatment, back panels and internal finish.
- PU sheen and colour reference, or laminate brand and exact code.
- Hardware brands or performance specifications, along with quantity and warranty terms if offered.
- Drawers, baskets, lift-ups, corner units, lofts, handles, lights and electrical points.
- Site preparation, dismantling, civil changes, delivery, installation, debris removal and taxes where applicable.
- Payment stages, expected lead times, handover conditions and the process for snags or damaged parts.
Use the quotation checker to create a second list of questions. Then ask the designer to revise the document rather than relying on verbal promises. If two quotations use different board thicknesses, hardware or internal layouts, the cheaper total is not a like-for-like saving.
Step 7: Ask these questions before paying an advance
- Which substrate is being used under the chosen finish, and where is each material specified?
- Will I approve a physical PU or laminate sample before production?
- Where will PU application, drying and quality inspection take place?
- How will exposed edges, sink areas, wall junctions and cut-outs be protected?
- What is excluded from this scope, including electrical, plumbing, painting, civil repair and appliance work?
- What happens if a shutter arrives scratched, a laminate code changes or measurements need correction?
- What are the payment milestones, cancellation terms and handover process?
- Who is the site contact, and how frequently will progress updates be shared?
Paying an advance should follow clarity on scope, drawings, materials and milestones. Keep approved samples, revised quotations and payment records together. A polished presentation is useful, but documentation protects both sides when details change.
Step 8: Prepare for execution and quality checks
Before manufacturing begins, confirm final measurements after flooring, tiles, skirting and major electrical work are accounted for. Check door swings, appliance dimensions, lift access and the route from the building entrance to the room. In Indian apartments, society timings, parking restrictions and lift bookings can affect delivery even when the furniture itself is ready.
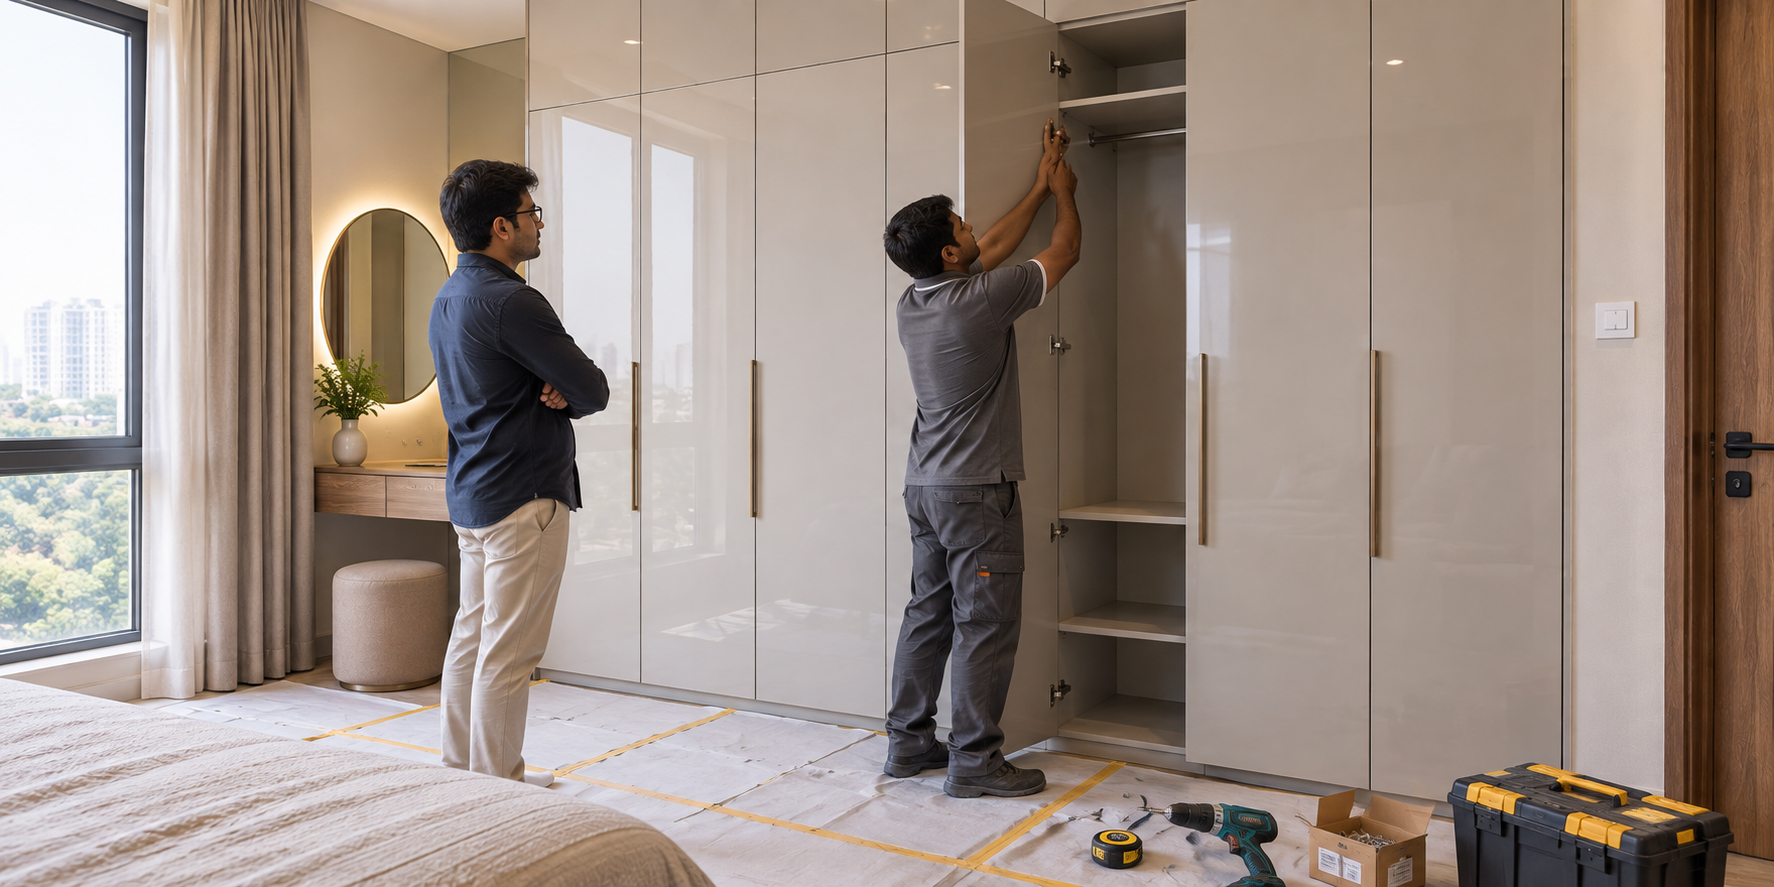
During installation, inspect alignment, gaps, drawer movement, soft-close action if specified, handle positions and the finish around cut-outs. For PU, inspect the surface in more than one lighting condition. For laminate, check edge bonding, direction and joints. Photograph defects before use and record them in a snag list with an agreed correction date.
Common red flags in a PU or laminate proposal
- A very low total with no board, hardware or internal-storage specification.
- A quotation that uses “premium,” “waterproof” or “lifetime” without defining the material or responsibility.
- Pressure to pay a large advance before drawings, samples and a scope document are approved.
- Only computer renders are shown, with no physical samples or completed work to inspect.
- Different material terms appear in the presentation, quotation and invoice.
- There is no clear owner for measurements, site coordination, snags or after-installation support.
- The designer avoids explaining exclusions, lead times or what happens if a product is unavailable.
One warning sign does not prove poor work, but several together deserve a pause. Ask for written clarification and compare a revised scope with another proposal.
Step 9: Make the final decision room by room
You do not have to use one finish everywhere. A homeowner may choose laminate for the main kitchen and utility storage, PU for a bedroom wardrobe or display unit, and another carefully selected finish for a low-use feature. The decision should follow exposure, handling, appearance, repair expectations and the quality of the supplier—not just the finish label.
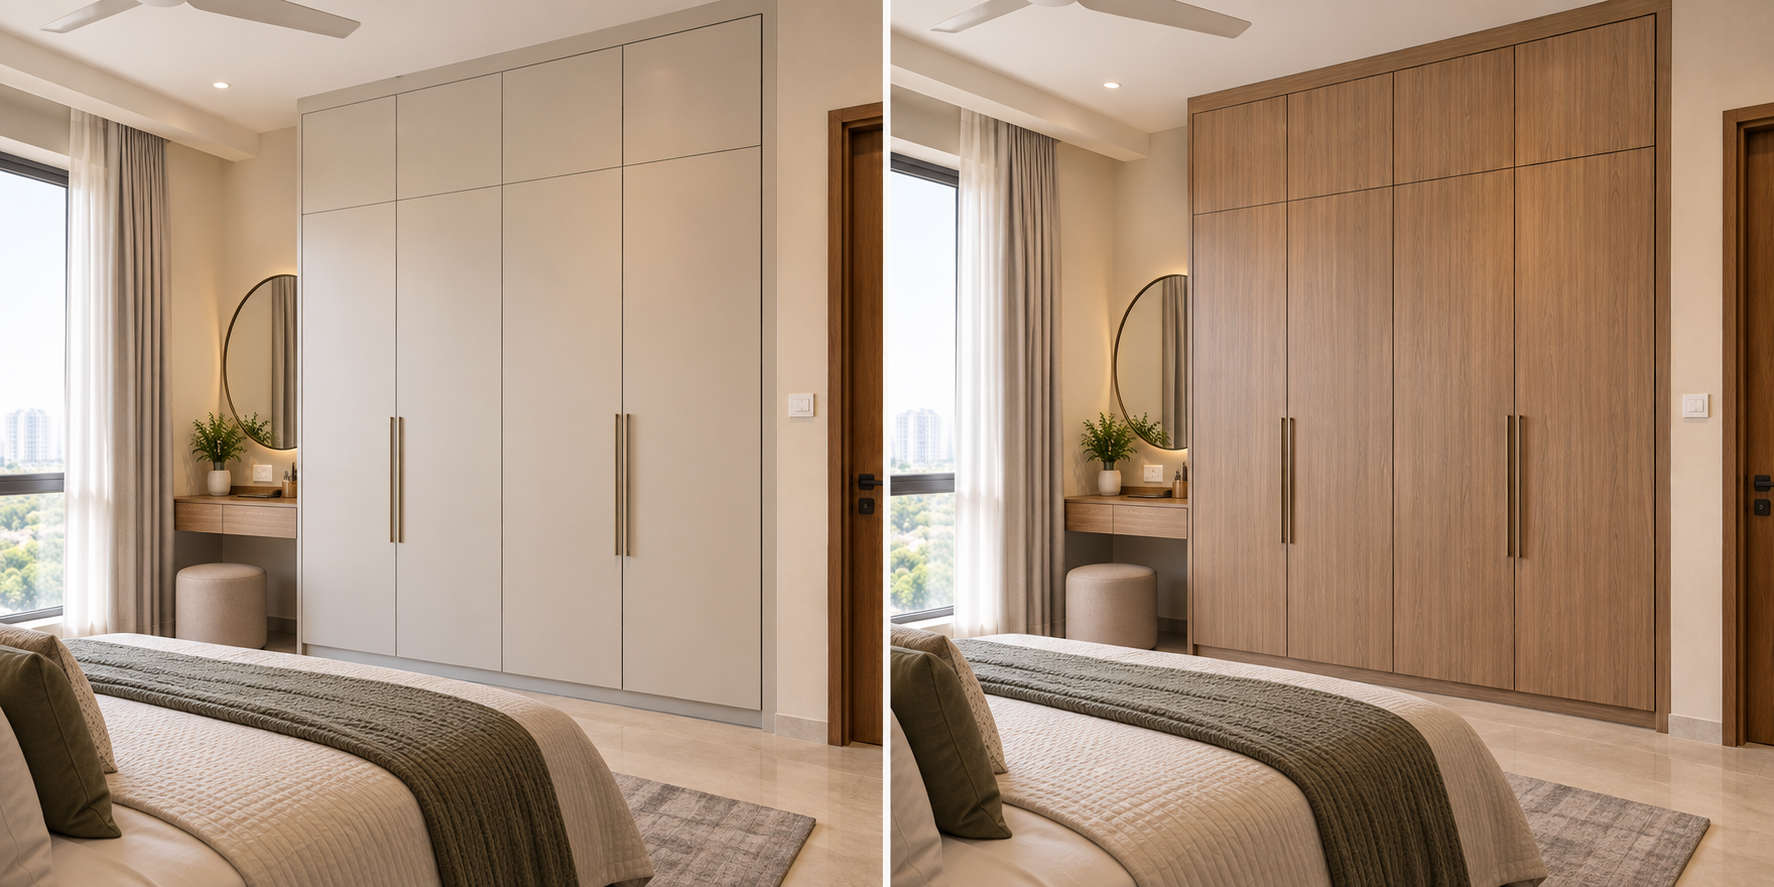
Shortlist the option that you can specify precisely, maintain realistically and afford without weakening the underlying board or hardware. If the choice still feels unclear, create two versions of the same room design and compare them using physical samples, not only screen renders.
Need a clearer starting point?
Use WallsToWonder to organise the decision before you commit. Browse interior design posts, explore companies and designers serving your area, or try Design My Room to shape an initial brief. The AI interior assistant can help turn your room requirements into questions and a more structured conversation with a professional.
A compact decision checklist
- Have I identified the substrate as well as the surface finish?
- Have I checked the finish under the lighting used in the room?
- Does the quotation include internals, edges, hardware, installation and exclusions?
- Can I maintain the chosen surface and manage likely repairs?
- Have I compared designers on process, communication and documentation?
- Are payment milestones linked to measurable deliverables?
For more visual references, browse design ideas on WallsToWonder and save examples that show the finish, room type and storage details you actually want. When you are ready to speak with a professional, return to the designer directory for companies serving your area with your shortlist and questions prepared.
Frequently asked questions
1. Is PU better than laminate for a kitchen?
Not universally. Laminate is often a practical choice for busy kitchen surfaces, while PU may be chosen for a particular colour or premium painted appearance. Board quality, edge sealing, heat, water and installation matter just as much.
2. Is PU more expensive than laminate?
It can be, because preparation and application are more involved, but the gap depends on the exact finish, board, hardware, design and scope. Compare complete specifications rather than finish names alone.
3. Which finish is easier to repair?
A damaged laminate panel may be replaceable if the same code is available. PU damage may need touch-up or refinishing. Ask the designer how repairs and colour matching will be handled before approval.
4. Can PU be used on plywood?
PU can be applied over suitable prepared substrates, including plywood in some applications. The exact system depends on the board, surface preparation and applicator, so request the proposed specification in writing.
5. How do I compare two interior designers offering different finishes?
Ask both for the same room list, board specification, internal layout, hardware, finish reference, exclusions, timeline and payment stages. Then compare performance and scope, not only the final amount.
Turn this idea into a plan for your home
Visualise your space, understand the likely budget, or find a professional who can bring the idea to life.