
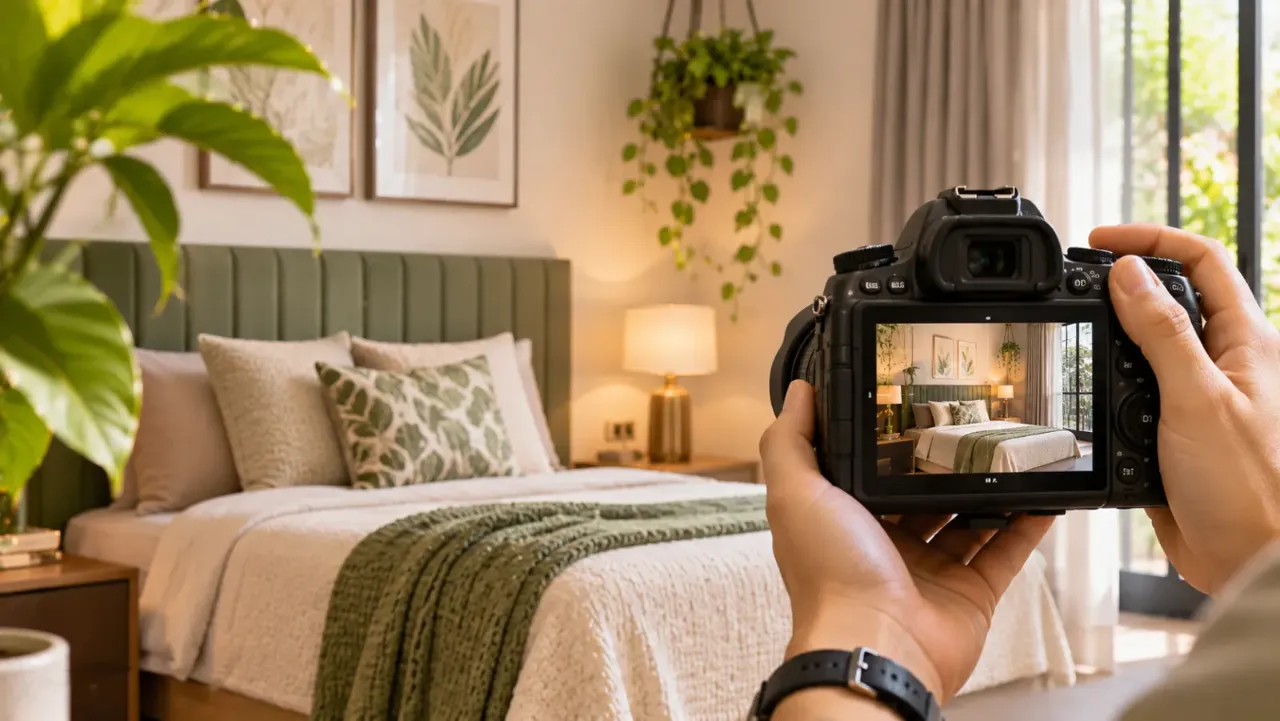
Photographing Your Own Rooms Like a Professional
A beautifully designed room can look completely different in a photograph. Sometimes a space that feels bright and spacious in person appears dark, cramped or visually unbalanced on camera. The reason is often not the room itself, but how it is photographed.
Interior photography is about capturing the character, proportions and details of a space while helping viewers understand its layout. You do not necessarily need an expensive camera, professional lighting equipment or a specialised studio. A modern smartphone, a little preparation and an understanding of basic photography techniques can make a noticeable difference.
Whether you are documenting your home renovation, sharing your interiors on social media, creating a design portfolio or simply preserving your favourite spaces, these practical steps can help you photograph rooms more confidently.
1. Prepare the Room Before Taking Photographs
Before reaching for your camera, take a few minutes to prepare the room. Even a well-designed interior can look distracting when everyday objects are scattered around the frame.
Start by removing items that do not contribute to the photograph. Clear unnecessary objects from coffee tables, kitchen counters, bedside tables and open shelves. Straighten cushions, arrange curtains neatly and make sure rugs and furniture are positioned properly.
A few simple styling touches can improve the photograph:
- Arrange cushions neatly without making them look overly formal.
- Remove visible cables, chargers and unnecessary electronic accessories.
- Clear tabletops while keeping a few intentional decorative objects.
- Straighten chairs, rugs and curtains.
- Hide cleaning supplies, laundry baskets and temporary storage items.
- Make sure visible cabinet doors and drawers are properly closed.
Do not remove everything, though. A room should still look like a home rather than an empty showroom. A vase, a book, a plant or a neatly arranged throw can add a sense of scale and personality.
2. Use Natural Light Whenever Possible
Lighting is one of the most important elements of interior photography. Good natural light helps show colours, textures and finishes more accurately.
Whenever possible, photograph your room during daylight. Open curtains and blinds to let light enter, and turn off unnecessary artificial lights if they create mixed colour temperatures or uneven shadows.
The best time depends on the direction of your windows, the weather and the room's layout. Soft daylight is often easier to work with than direct sunlight, which can create bright patches and harsh shadows.
Try these approaches:
- Photograph near a window when the daylight is soft and even.
- Avoid placing the brightest window directly behind the main subject unless you intend to create a silhouette.
- Use sheer curtains to soften strong sunlight.
- Check for distracting patches of light on floors, walls and furniture.
- Take multiple photographs as the daylight changes.
If a room is naturally dark, use a tripod or stable surface and adjust exposure carefully rather than relying heavily on digital brightening.
3. Choose the Right Camera Angle
The camera angle can change how large, balanced or inviting a room appears. An angle that works for a living room may not be suitable for a compact bedroom or narrow kitchen.
For most interior photographs, begin at approximately chest or eye level. This helps show the room naturally without making furniture look distorted.
Experiment with these three common viewpoints:
- Corner angle: Photographing from a corner can show two walls and create a sense of depth. It is useful for capturing the relationship between furniture and the room layout.
- Straight-on angle: Photographing directly towards a feature wall, bed, sofa or cabinet creates a more symmetrical composition. It works especially well when the design itself is balanced.
- Detail angle: Move closer to capture a material, decorative object, lighting fixture or furniture finish. These photographs help communicate the finer details that a wide room photograph may miss.
Avoid automatically shooting every room from the same corner. Walk around, observe how the furniture relates to the windows and doorways, and choose the angle that tells the clearest story.
4. Keep Vertical Lines Straight
One of the most noticeable differences between casual room photographs and professional interior photography is the treatment of vertical lines.
When a phone or camera is tilted upwards or downwards, walls, doors and cabinets can appear to lean. This can make a room look distorted.
To avoid this:
- Hold the camera level rather than pointing it sharply upwards or downwards.
- Keep door frames and wall corners vertical in the frame.
- Use the camera grid to help align the composition.
- Step back slightly instead of tilting the camera to include more of the room.
- Correct minor perspective distortions during editing, if necessary.
This is particularly important when photographing kitchens, wardrobes, built-in cabinets and architectural features where straight lines are a major part of the design.
5. Use a Wide Lens Carefully
A wide-angle view can help capture more of a compact room, but using the widest possible setting is not always the best choice.
Extremely wide lenses can stretch objects near the edges of the frame, make furniture appear unusually large and distort the proportions of a space.
A better approach is to:
- Start with the standard camera lens.
- Switch to a wider lens only when the room cannot fit comfortably into the frame.
- Keep important furniture away from the extreme edges.
- Check whether doorways, cabinets and walls still look proportional.
- Avoid using digital zoom to compensate for poor positioning.
For small Indian apartments, a moderately wide view can be useful for showing the connection between the living, dining and kitchen areas. However, preserving realistic proportions is more important than squeezing every object into one photograph.
6. Compose the Photograph Before Pressing the Shutter
A professional-looking photograph usually has a clear focal point. The viewer should immediately understand what the image is trying to show.
Before taking the picture, decide what matters most in that frame. It could be a sofa arrangement, a feature wall, a dining table, a wardrobe or the overall layout.
Use these simple composition techniques:
- Rule of thirds: Place the main subject slightly away from the centre when it creates a more balanced frame.
- Leading lines: Use flooring patterns, ceiling lines or furniture edges to guide the viewer's eye.
- Foreground elements: A plant, chair or table edge can add depth when it does not obstruct the main subject.
- Visual balance: Avoid having too many large objects competing for attention on one side.
- Negative space: Leave some uncluttered areas so the room does not feel crowded.
Try taking both horizontal and vertical photographs. Horizontal frames are useful for room layouts and website banners, while vertical frames work well for social media stories and reels.
7. Capture the Room in Layers
A single wide photograph rarely communicates every detail of an interior. A better approach is to photograph the space as a small collection of images.
Think of the room in three layers:
- The overall view: Show the room's layout, furniture arrangement, windows and major design elements.
- The functional zones: Capture specific areas such as a reading corner, dining setup, wardrobe, TV unit or study desk.
- The close-up details: Photograph materials, handles, lighting, upholstery, textures, decorative objects and craftsmanship.
For example, when photographing a living room, take one wide image showing the seating arrangement, another showing the TV or feature wall, and a close-up of the coffee table styling or upholstery.
This approach is especially useful when documenting a home renovation or creating a portfolio for an interior design project.
8. Photograph Different Rooms with Different Priorities
Every room has a different purpose, so the photographs should highlight what makes that space work.
| Room | What to focus on | Photography suggestion |
|---|---|---|
| Living room | Seating, circulation and focal wall | Capture from a corner or doorway |
| Bedroom | Bed, headboard, wardrobe and lighting | Use a balanced, straight-on view |
| Kitchen | Cabinetry, counters and work zones | Keep vertical lines straight |
| Bathroom | Tiles, fittings and storage | Use clean, even lighting |
| Dining area | Table, seating and pendant lighting | Capture the full table arrangement |
| Balcony | Outdoor connection and natural light | Photograph towards the view without losing interior context |
| Home office | Desk, storage and task lighting | Show both the workspace and its surroundings |
For compact rooms, avoid forcing too much into one frame. Two or three carefully selected photographs can communicate the space more effectively than one distorted wide-angle image.
9. Use a Smartphone Like a Photography Tool
You can take strong interior photographs without owning a DSLR or mirrorless camera. Most modern smartphones have useful features that can help improve image quality.
Before shooting, check the following:
- Clean the camera lens with a soft cloth.
- Use the highest suitable image resolution.
- Turn on the grid for alignment.
- Tap the screen to focus on the main subject.
- Adjust exposure if bright windows or dark corners are distracting.
- Keep the phone steady while taking the picture.
- Avoid excessive digital zoom.
If your phone has a manual or professional camera mode, you can experiment with ISO, shutter speed and white balance.
Keep ISO as low as practical to reduce image noise. A slower shutter speed can help in low light, but it is best used with a stable phone or tripod to prevent blur. White balance helps keep whites and neutral surfaces from looking unnaturally yellow or blue.
Do not feel that every setting needs to be adjusted manually. Start with the automatic camera mode and learn which adjustments make a visible improvement.
10. Edit Photographs Without Making Them Look Artificial
Editing can improve exposure, colour balance and composition, but it should not change the appearance of the room beyond recognition.
Begin with basic corrections:
- Adjust exposure to make the photograph readable.
- Recover highlights if windows or bright surfaces look washed out.
- Lift shadows slightly to reveal darker corners.
- Correct white balance so neutral surfaces look natural.
- Straighten vertical and horizontal lines.
- Crop distractions around the edges.
Avoid excessive saturation, strong filters, artificial HDR effects and extreme sharpening. These can make materials look different from how they appear in real life.
If you are photographing a home for a portfolio, client presentation or property listing, aim for an honest representation of the space. Editing should improve clarity, not mislead the viewer.
11. Common Interior Photography Mistakes to Avoid
| Mistake | How to improve it |
|---|---|
| Photographing against a bright window | Adjust exposure and choose an angle that balances the light |
| Tilting the camera too much | Keep the phone level and correct perspective carefully |
| Using an extremely wide lens | Use a moderate field of view and preserve proportions |
| Leaving clutter in the frame | Prepare and style the room before shooting |
| Using too many filters | Keep colours and materials realistic |
| Photographing everything from one angle | Explore different viewpoints and details |
| Holding the phone unsteadily | Use both hands or a stable support |
| Cropping important furniture or fixtures | Check the frame edges before taking the photograph |
12. Build a Simple Room Photography Checklist
Before you finish photographing a room, run through this quick checklist:
- The room is clean and visually organised.
- Curtains and blinds are positioned neatly.
- Unnecessary objects and visible cables are removed.
- Natural light is being used effectively.
- The camera lens is clean.
- Vertical lines appear straight.
- The main furniture and focal point are clearly visible.
- Both wide and detailed photographs have been captured.
- Colours and finishes look reasonably true to life.
- The final images have been checked for blur and unwanted distractions.
Closing Thoughts
Photographing your own rooms like a professional does not require expensive equipment or complicated techniques. It requires a little observation, thoughtful preparation and an understanding of how light, angles and composition influence the final image.
Start with natural light, keep your camera level, choose a clear focal point and photograph the room from more than one viewpoint. Most importantly, aim to capture the space as it genuinely feels and functions.
With practice, you will begin to notice details that make a photograph stronger—and your own home can become a much better subject for your camera.
Explore More with Walls to Wonder
Planning your next interior project? Explore Walls to Wonder's AI tools to visualise room ideas, understand costs and make more informed design decisions.
- Whole Home Visualizer – Explore design ideas across your home.
- Design My Room – Experiment with different room styles and looks.
- Interior Design Cost Estimate – Get an initial understanding of interior costs.
- Interior Quotation Checker – Review and understand interior quotations.
- Rate My Room Design – Get feedback on your room design.
- Interior Style Finder – Discover an interior style that suits your preferences.
Visit Walls to Wonder for more interior design ideas and inspiration.
Turn this idea into a plan for your home
Visualise your space, understand the likely budget, or find a professional who can bring the idea to life.